← Back to modifications

Community modification · Plumbing

Propane quick-connect from the Casita’s main tanks

A professionally installed low-pressure outlet near the entry door lets compatible outdoor appliances use the trailer’s two onboard propane cylinders.

At a glance

Owner
Patty Donaho
Trailer
2018 Casita
System
Plumbing
Reported cost
$500 for professional installation, as reported by the owner
Difficulty
Professional propane work
Tools
Not listed; installed by a plumber
Dimensions
No line length or fitting dimensions documented
Reversible?
Not documented; the installed branch can be shut off

The project, consolidated

What changed

Patty wanted to stop carrying a separate propane bottle for outdoor appliances. Her plumber tied a copper branch into the regulated propane system and terminated it in a quick-disconnect beside the front door.

The finished outlet draws from the Casita’s two 20-pound cylinders and puts the connection close to the outdoor living area. A local shutoff allows the branch to be closed when it is not in use.
Owner photographs

See the finished work.

Photos are reproduced as visual documentation of this community project and credited to the project owner.

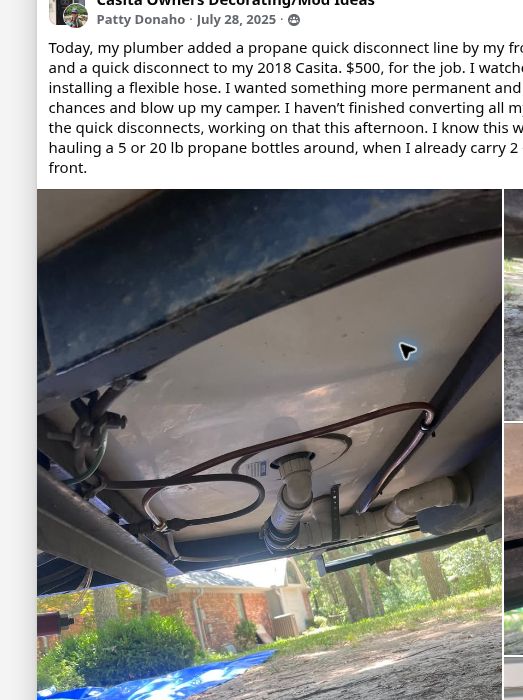
Copper propane line routed beneath a Casita1 / 4
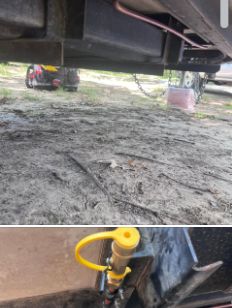
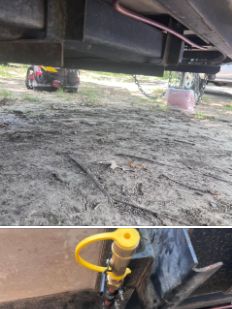
The new copper line follows the underside of the trailer toward the entry.
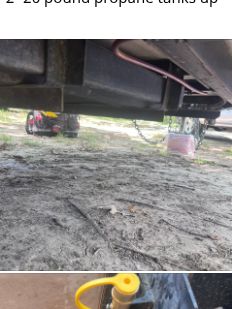
Propane supply line beneath the Casita frame2 / 4
Under-trailer routing and protection were central parts of the installation.
Yellow-handled propane shutoff and quick-connect hardware3 / 4
The connection includes a dedicated shutoff at the new outlet.
Finished propane quick-connect near the Casita entry4 / 4
The outlet was placed near the front door for convenient outdoor cooking.

How the approach works

Project outline

  1. Plan an outlet location that is easy to reach but protected from road debris, heat, and moving parts.
  2. Branch from the trailer’s regulated propane supply with RV-rated components and protected routing.
  3. Install a shutoff and compatible quick-disconnect at the outlet.
  4. Pressure-test and leak-test the complete installation before use.

The useful part of the thread

What the comments clarified

This is a low-pressure connection

The Casita’s main regulator has already reduced cylinder pressure. The appliance and hose must be designed for low-pressure quick-connect service; adding a second regulator can prevent proper operation.

Appliance compatibility matters

Do not remove an appliance regulator unless its manufacturer specifically permits that conversion. Owners mentioned purpose-built low-pressure hoses such as the MB Sturgis 104052-MBS, but the correct hose and fittings depend on the appliance.

The location is a personal choice

Commenters described outlets near the entry, rear bumper, and other protected points. Placement should reflect where the appliance will sit and how the line can be safely routed.

Other ways owners handled it

Alternatives and variations

  • Use one onboard cylinder temporarily with a longer hose or approved splitter instead of changing the trailer plumbing.
  • Carry a separate cylinder when appliance compatibility or campsite setup makes that simpler.

Community-sourced summary. This page consolidates an owner’s Facebook post and the practical points raised in its comments. It is not Casita factory guidance. The original thread may require Facebook sign-in or group membership.

See the post and full discussion ↗