
See what another owner made possible.
A visual Casita project library organized around the modification itself. Featured community posts are now consolidated into concise guides, so the useful idea and comment-thread knowledge live together in one place.
Browse by the job in front of you
Projects made easy to explore.
Each card identifies the system, contributor and useful search tags. Selected community posts open as complete Cozy guides that combine the owner’s description, photographs, and the best practical points from the comments.
Source standard: Community material is clearly labeled and credited. Every consolidated guide links back to its original post and full discussion.
59 visual project references
Choose a photo to open the original project.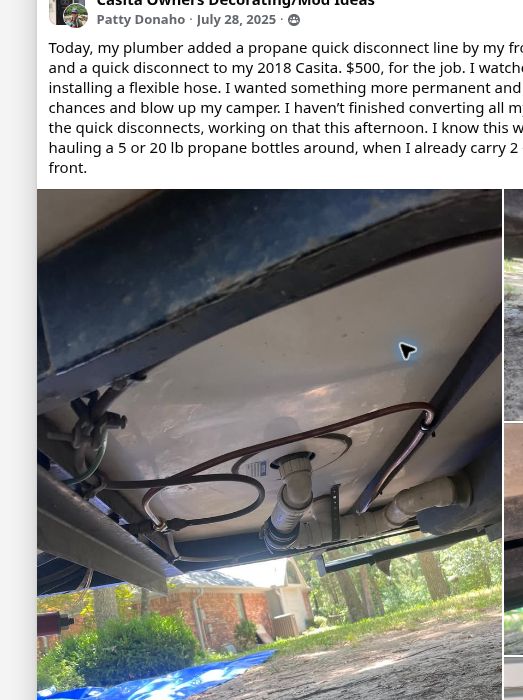 PlumbingPhoto: Patty Donaho
Propane quick-connect from the main tanks
A consolidated guide to adding a professionally installed low-pressure propane outlet, including appliance compatibility, routing, alternatives, and the most useful cautions from the discussion.
 InteriorPhoto: Henry Glenn
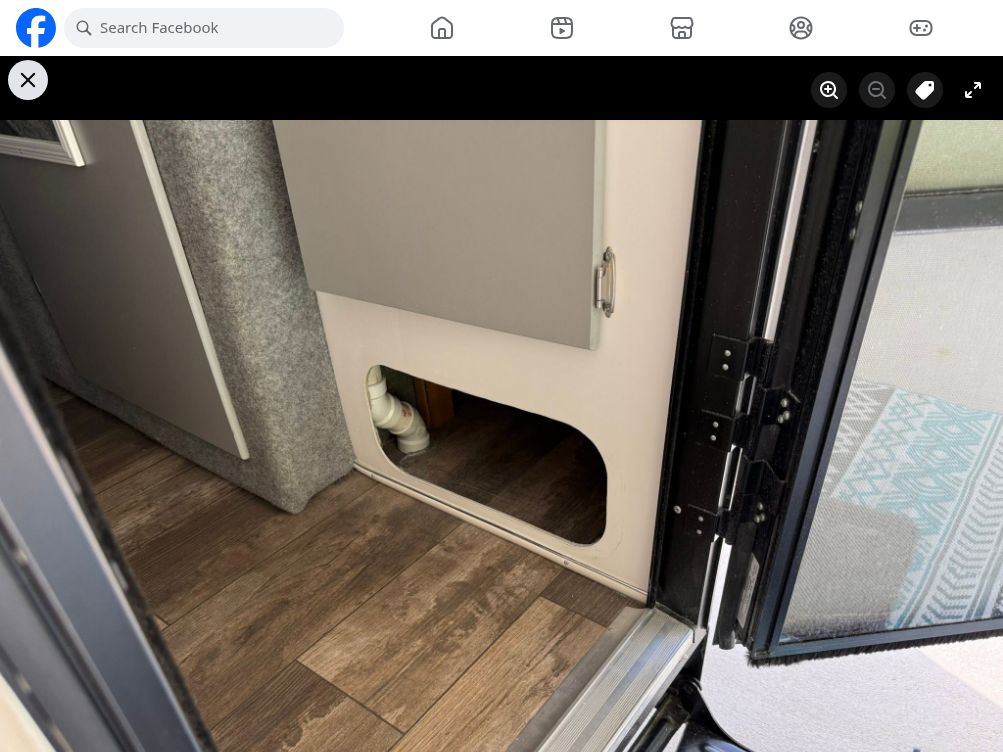
Under-closet shoe storage at the entry
A compact entry cubby cut into the unused space below the closet, with the receptacle relocation, finishing notes, and storage variations gathered into one reference.
 PlumbingPhoto: Tom Griebe
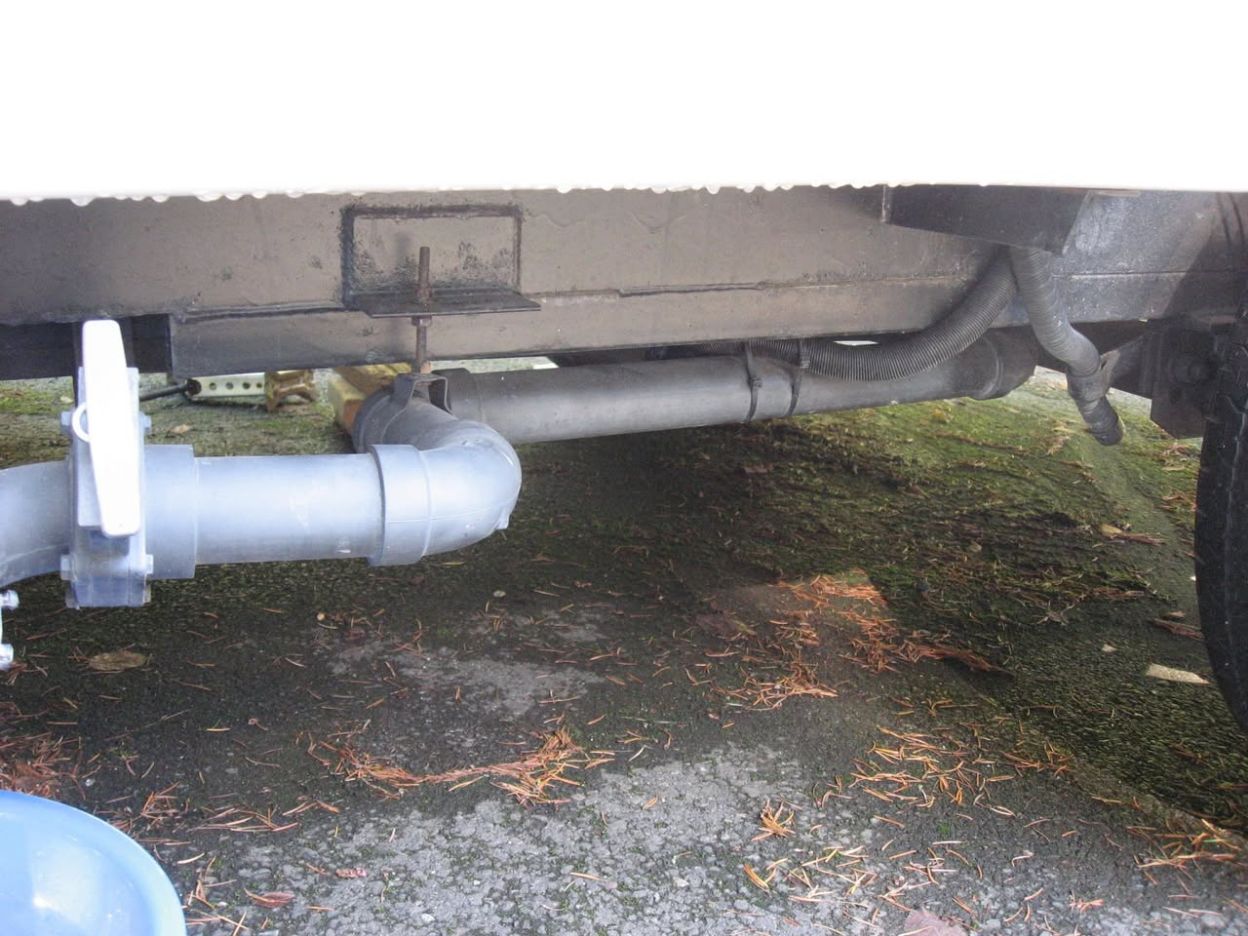
Faster, more complete gray-water drainage
A 2005 Casita drain-path redesign using larger pipe, gentler bends, and continuous fall, with owner results, model-year differences, and remaining tank-bow limitations.
 ElectricalPhoto: Steve Lineberry
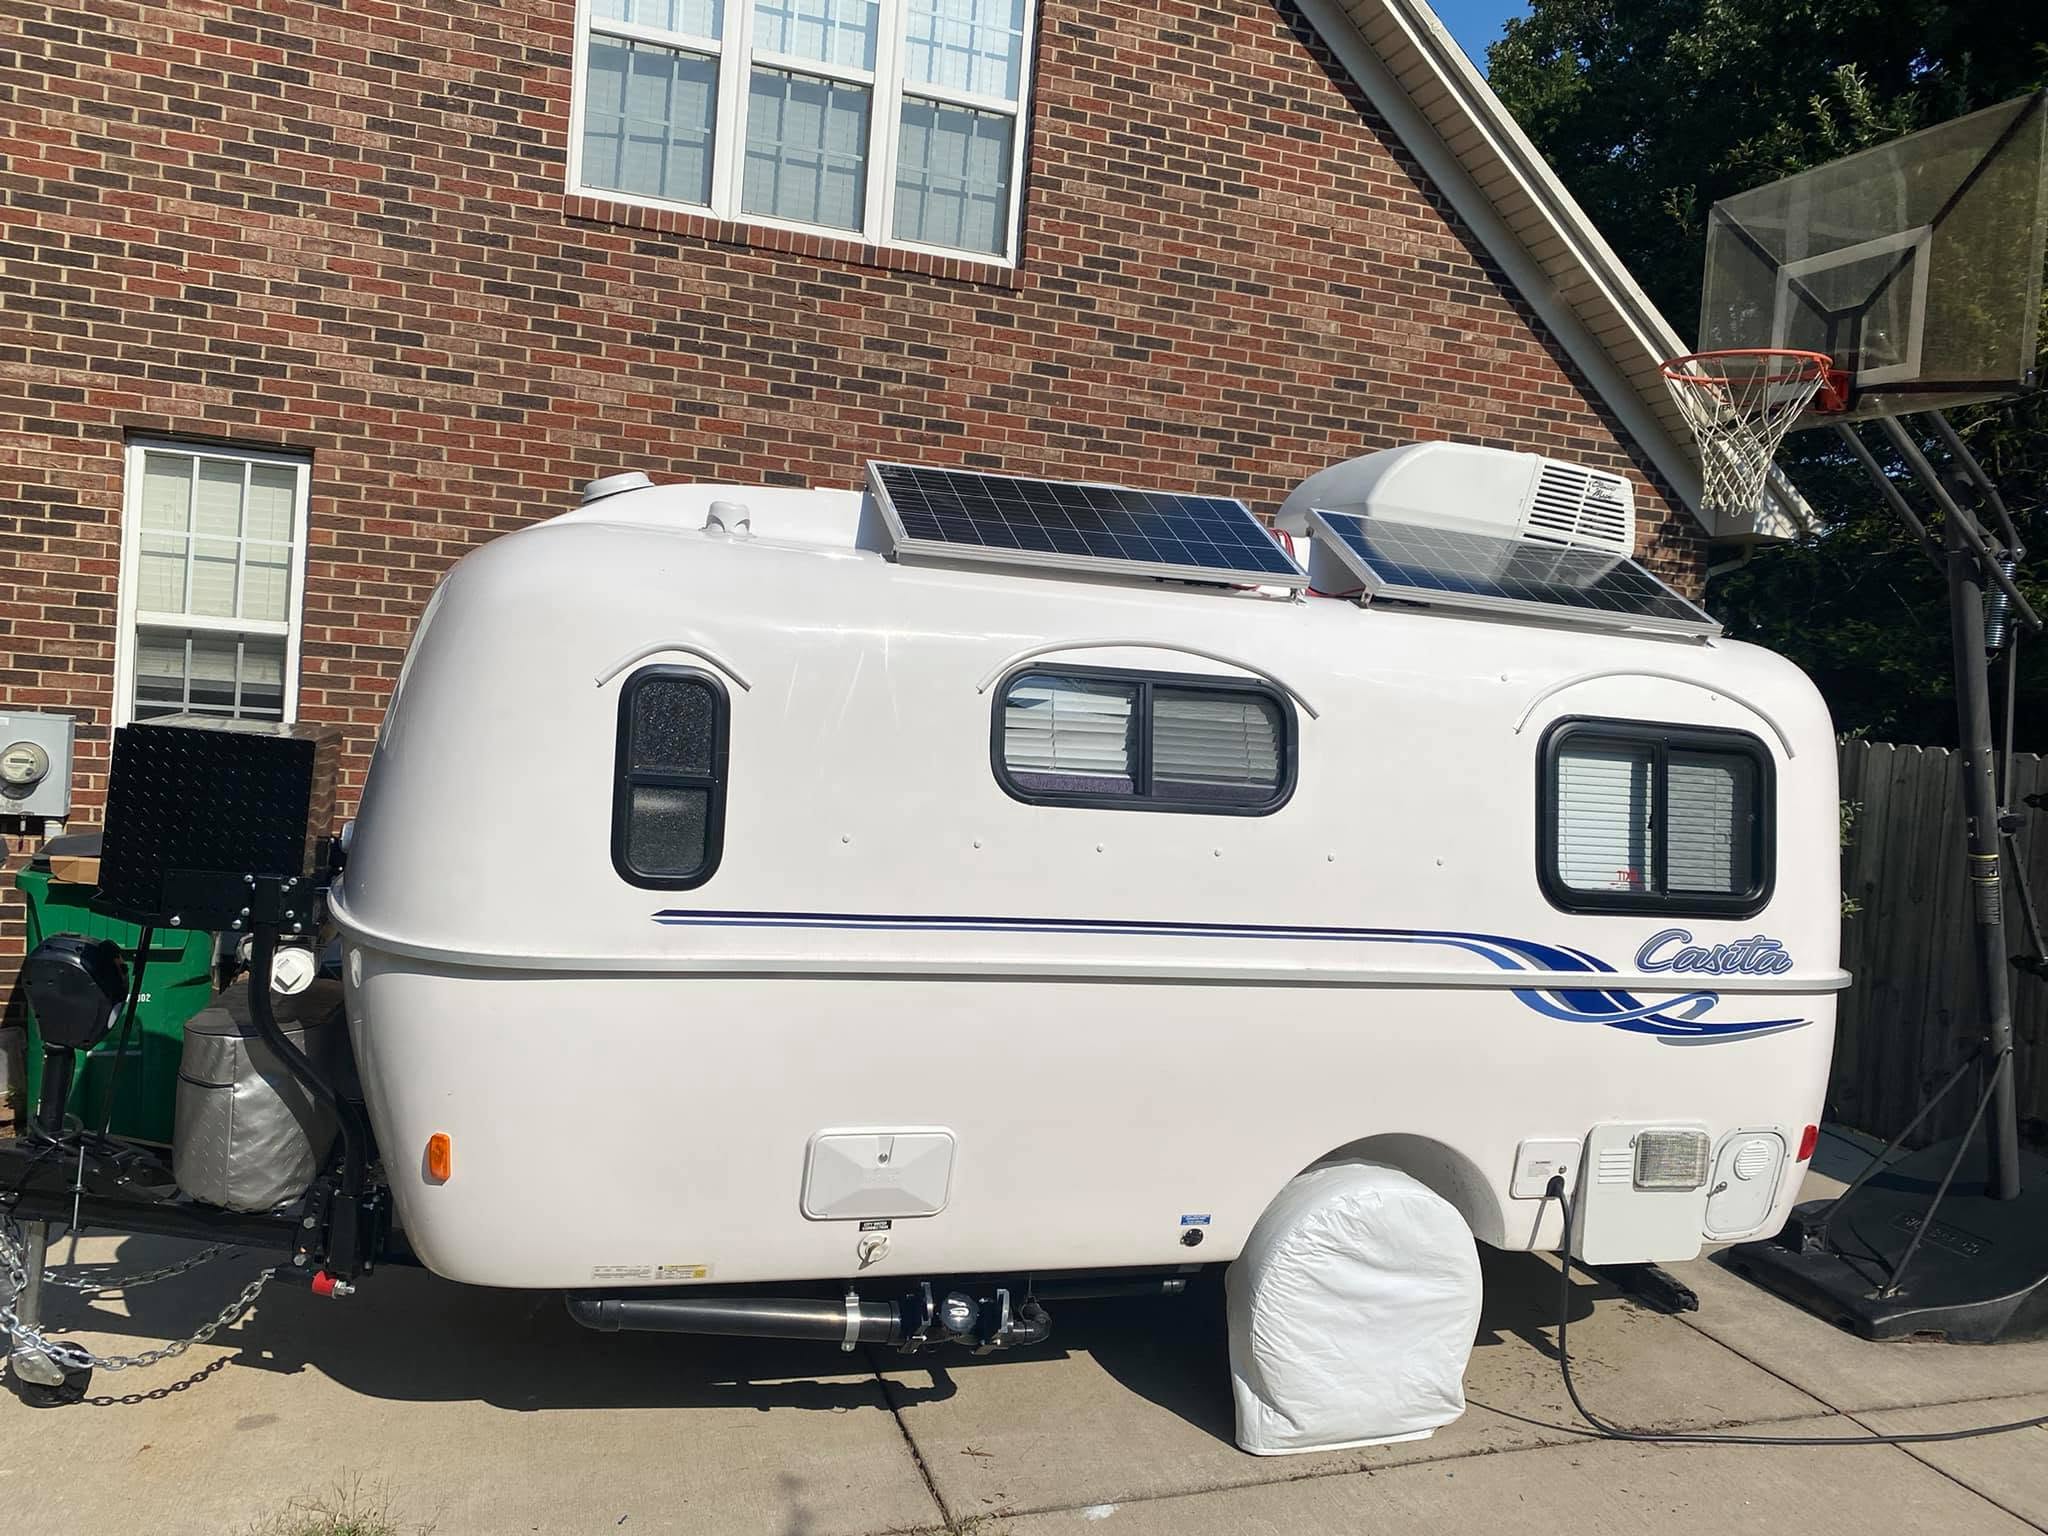
400W rooftop solar installation
An influential four-panel solar and two-battery installation on a 2021 Heritage Deluxe, with the complete post, fourteen photographs, video walkthrough, and original owner discussion.
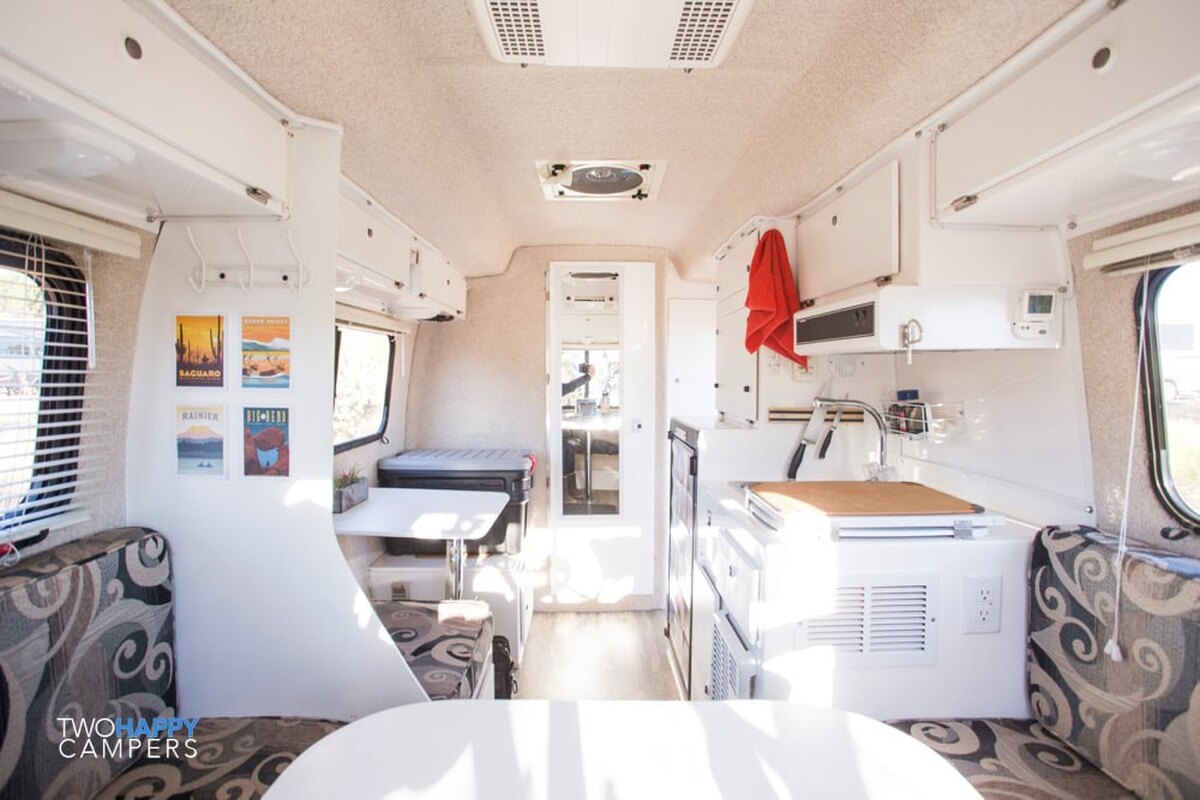
InteriorPhoto: Two Happy CampersBright white cabinet & flooring makeover
A dramatic before-and-after showing how bright white cabinet paint and new vinyl flooring changed the feel of a 2012 Spirit Deluxe interior.
 ElectricalPhoto: Kitchi-Gami · Brian Day
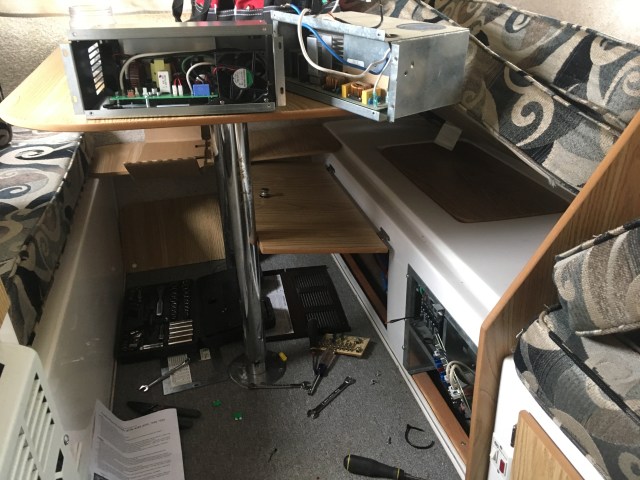
Progressive Dynamics converter replacement
An owner-documented replacement of a failed converter with a 45-amp Progressive Dynamics PD4645VL, covering the AC/DC panel, fuse-board swap, battery leads and charge testing in a 2008 Spirit Deluxe.
- Article date
- May 2019
- Documented trailer
- 2008 Spirit Deluxe 17
- Equipment
- Progressive Dynamics PD4645VL, 45 amp
- Tools
- Screwdriver with interchangeable Phillips/hex bits
- Evidence
- Owner installation account; follow manufacturer wiring instructions
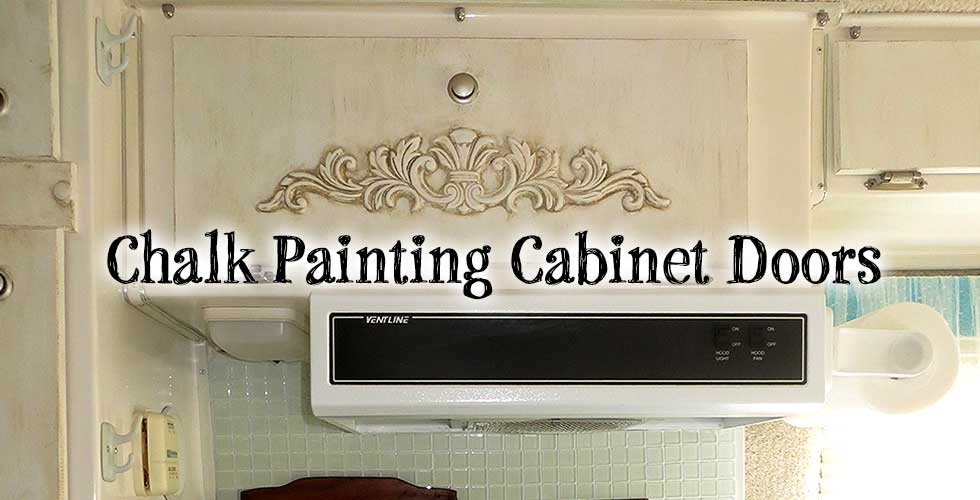 InteriorPhoto: Mrs. Padilly’s Travels
Chalk-painted Casita cabinet doors
An eight-step cabinet-door makeover using white chalk paint, dry-brushed accents, decorative molding and clear wax inside a 2006 17-foot Spirit Deluxe.
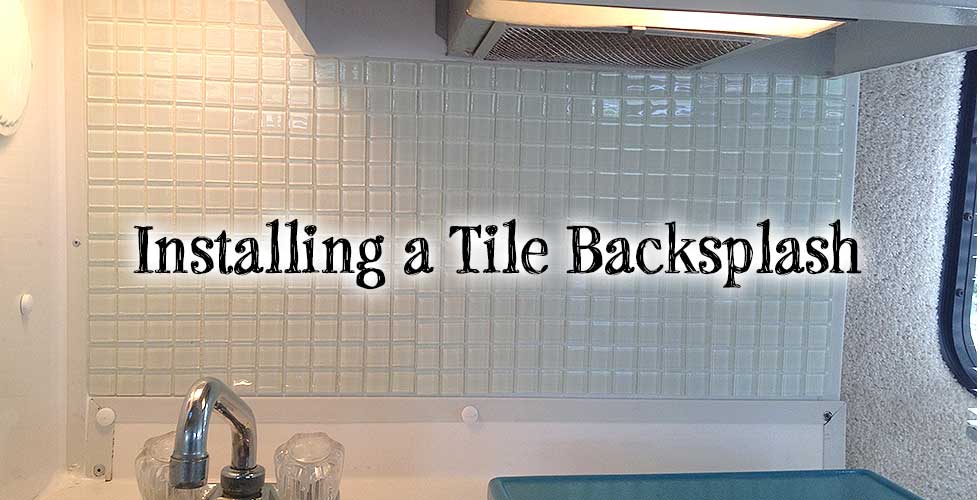 InteriorPhoto: Mrs. Padilly’s Travels
Glass-tile kitchen backsplash
A glass-mosaic backsplash project that removes the factory wire shelf, fits around the range vent and combines self-stick tile with grout adhesive.
 InteriorPhoto: Mrs. Padilly’s Travels
Self-adhesive wood-look vinyl floor
A lightweight peel-and-stick flooring update laid over the secure factory vinyl, with fitting details for the curved interior and entry threshold.
- Project date
- Summer 2014 on a 2006 Casita; article October 2014
- Time reported
- An entire day
- Tools
- Cutting mat, blade, scissors and L-square
- Materials
- Self-adhesive vinyl over firmly attached original vinyl
- Cost at the time
- Under $50 in original article; author later recalled no more than $60
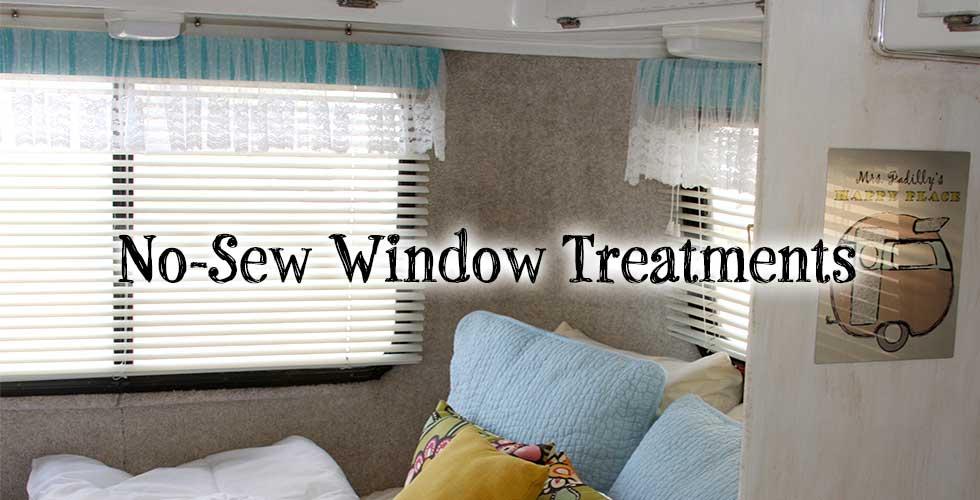 InteriorPhoto: Mrs. Padilly’s Travels
No-sew Casita window treatments
A photo-rich walkthrough for lace and rag valances attached to the factory mini-blinds without sewing, including a travel-tested attachment fix.
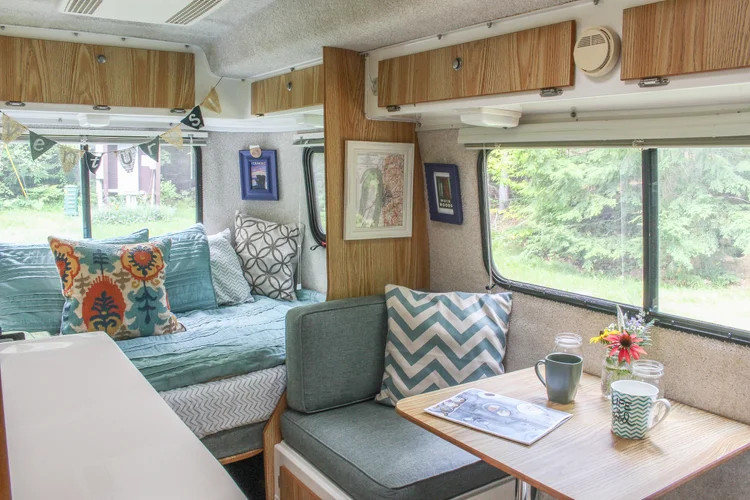 InteriorPhoto: Nuventure Travels · Lindsey & Adam Nubern
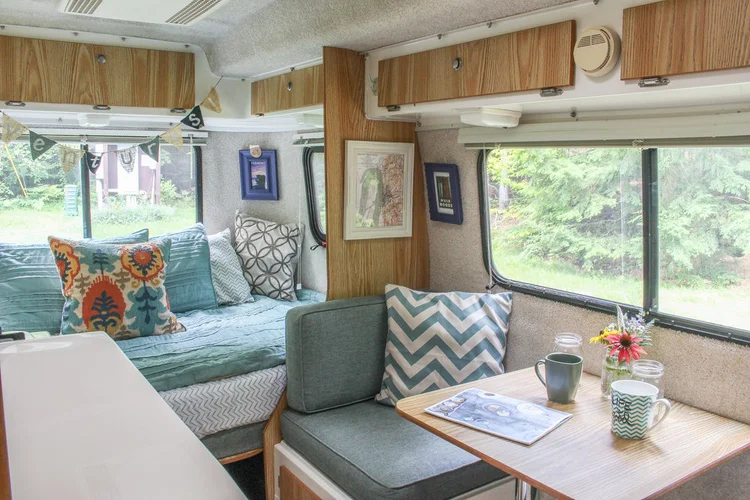
Camper-to-glamper interior before & after
A nine-month transformation of a 2009 Spirit Deluxe showing the bed, breakfast nook, kitchen, bath and full interior after the owners made the trailer their home.
 InteriorPhoto: Nuventure Travels · Lindsey & Adam Nubern
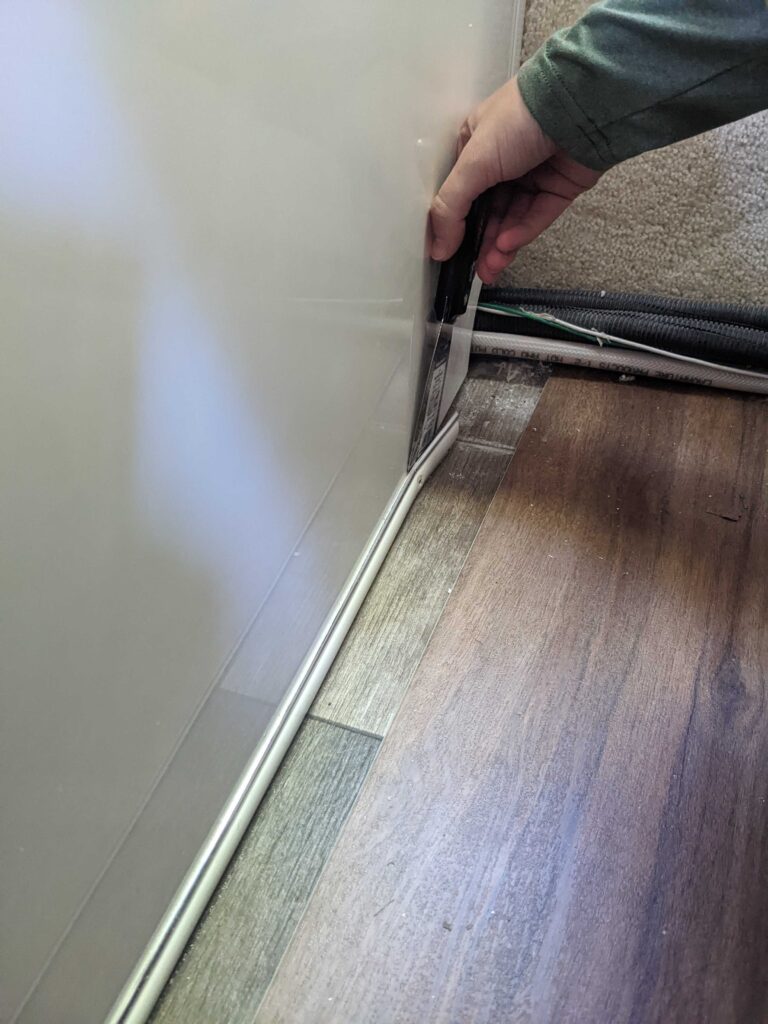
Hanging frames on carpeted Casita walls
A simple decorating method using metal curtain hooks in the carpeted wall, with an important reminder to remove framed pieces before towing.
- Materials
- Metal curtain hooks
- Before towing
- Owners remove frames and place them face-down on the bed
 InteriorPhoto: Casita Guide · Lauren
Reversible vinyl-plank flooring
A removable Lifeproof vinyl-plank floor laid over the factory surface of a 2024 Spirit Deluxe, including materials, cost and fitting notes.
- Article date
- July 2024
- Cost at the time
- Approximately $180, reported in 2024
- Materials
- Three boxes of Lifeproof Butler Hickory 22MIL planks, with leftovers
- Tools
- Worm-drive saw, measuring tape, box cutter, screwdriver and putty knife
- Reversibility
- Owner explicitly describes removable flooring with no permanent attachment
 InteriorPhoto: Tinycamper’s Blog
Twin-bed and small-dinette layout conversion
A Spirit Deluxe layout that replaces the full bed with a twin and turns the original small dinette into a second bed, preserving a compact dining spot and adding storage.
 InteriorPhoto: Tinycamper’s Blog
Custom cushions for a twin-bed layout
A completed cushion and upholstery set for the twin-bed conversion, with practical notes about foam thickness, comfort and flexible pillow-sham storage.
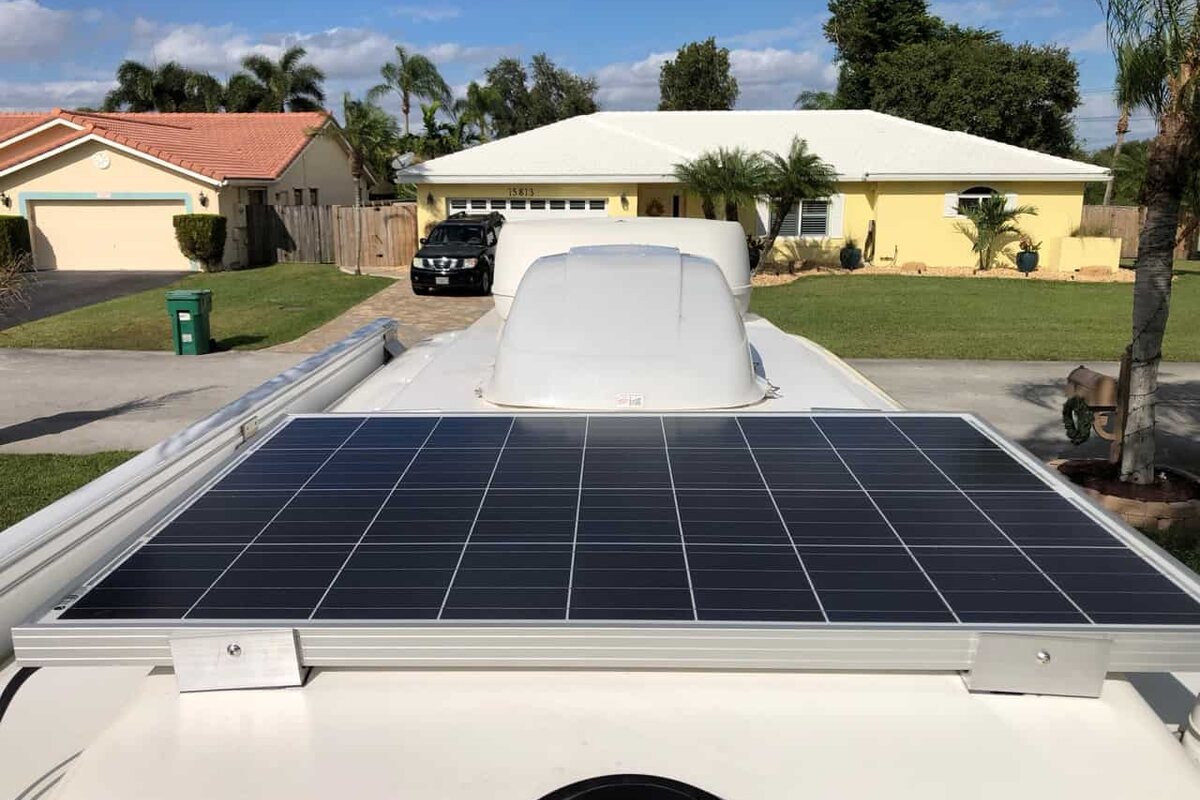
ElectricalPhoto: The Handy Camper · Greg ZimmermanSolar
A photographed Casita electrical project covering roof solar, 100 watt, battery charging. Open Greg Zimmerman’s original walkthrough for the complete parts, measurements and installation context.
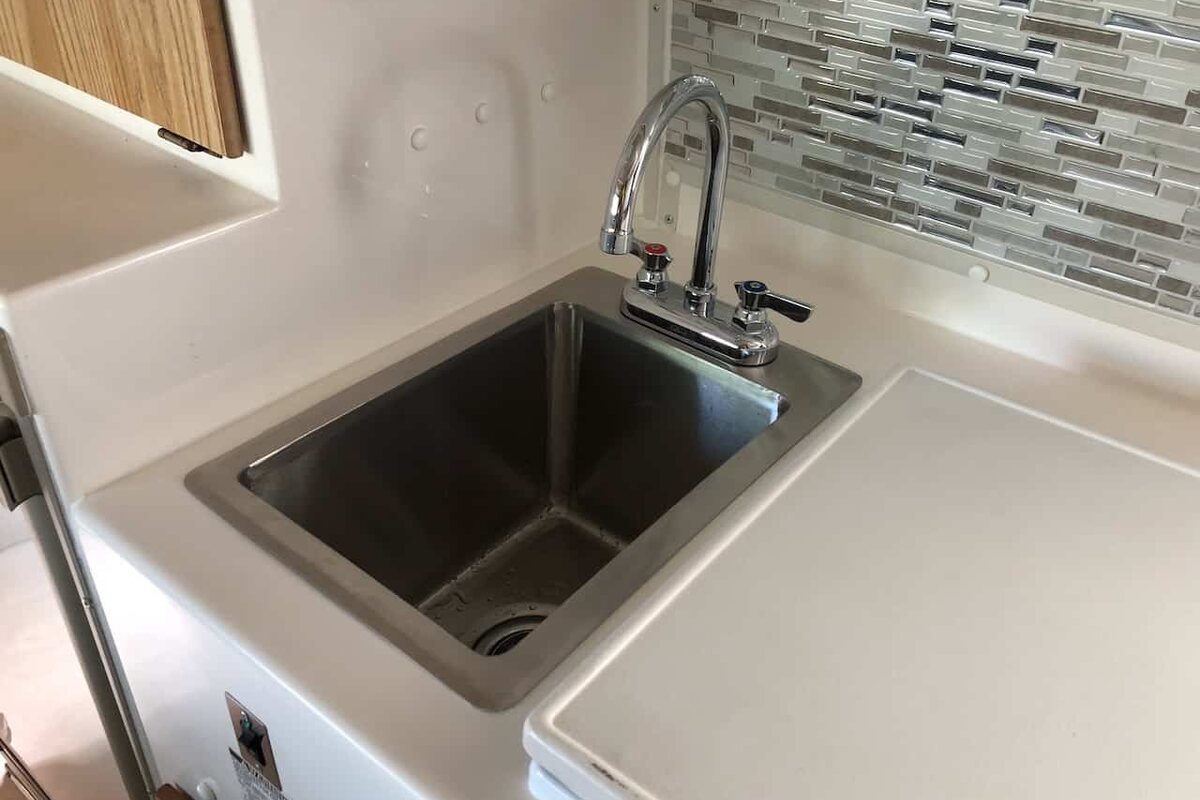
InteriorPhoto: The Handy Camper · Greg ZimmermanDeep Kitchen Sink
A photographed Casita interior project covering kitchen, sink, faucet. Open Greg Zimmerman’s original walkthrough for the complete parts, measurements and installation context.
- Article date
- July 2019; updated July 2020
- Parts
- Krowne HS-1419 sink; LHC kitchen HepvO kit
- Tools
- Drill; cut-out tool with RotoZip bits
- Dimensions
- Author enlarged opening about ½ inch toward the back
- Difficulty
- Author describes tight access and a difficult installation
- Fit
- Author cautions against assuming fit in driver-side Independence/Liberty kitchens
 InteriorPhoto: The Handy Camper · Greg Zimmerman
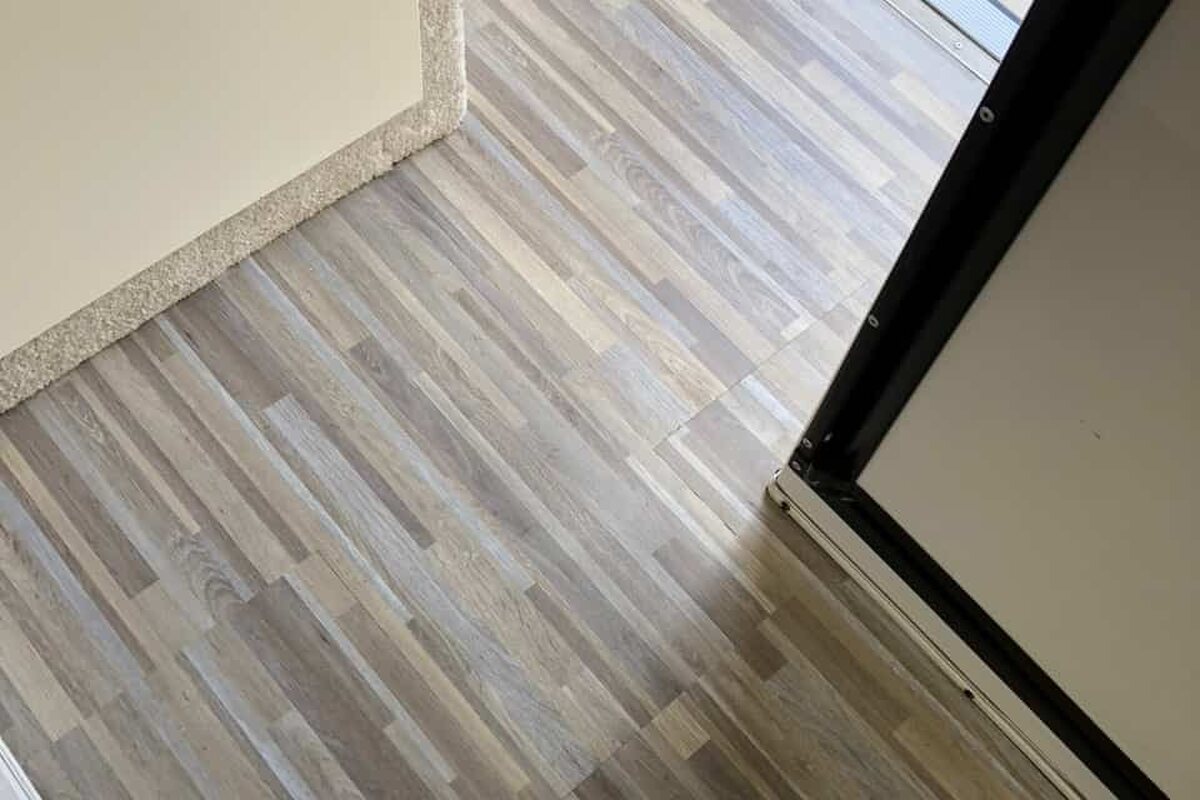
Flooring Makeover in 1/2 a Day
A photographed Casita interior project covering flooring, vinyl, interior. Open Greg Zimmerman’s original walkthrough for the complete parts, measurements and installation context.
 InteriorPhoto: The Handy Camper · Greg Zimmerman
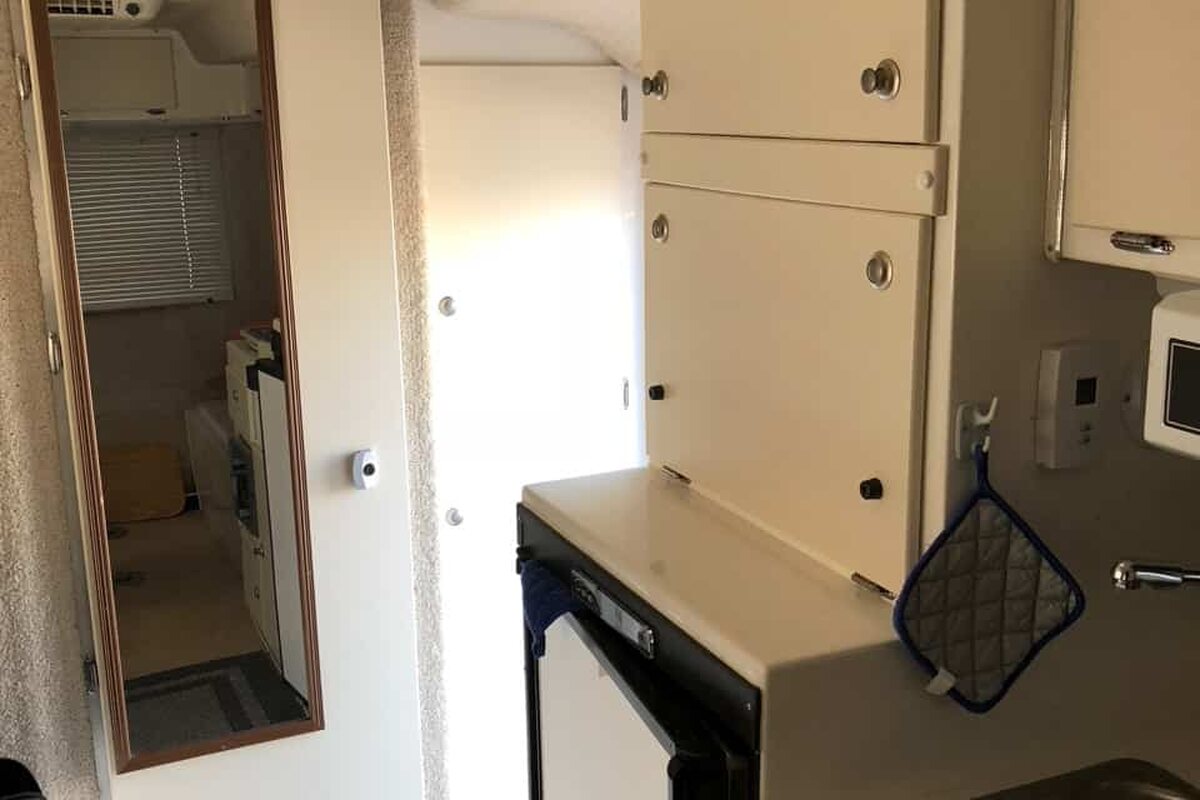
Painted doors and Birch plywood table
A photographed Casita interior project covering doors, dinette, table. Open Greg Zimmerman’s original walkthrough for the complete parts, measurements and installation context.
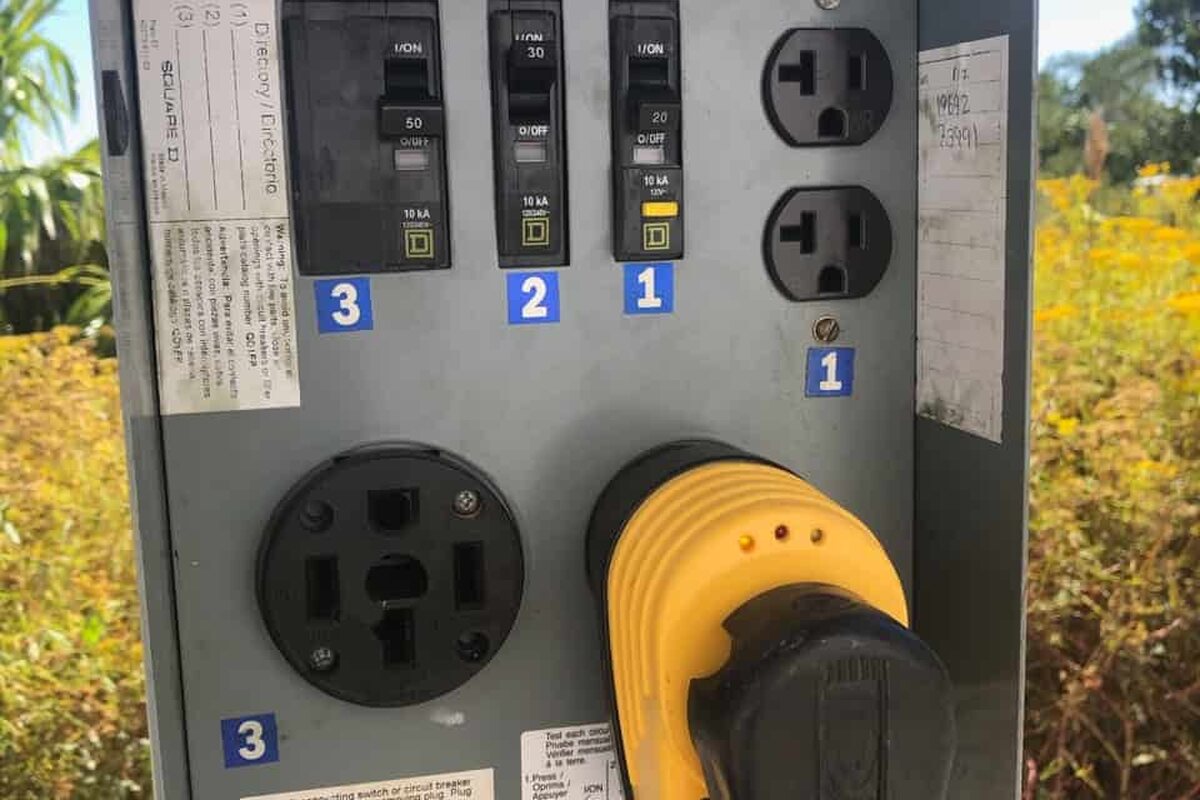 ElectricalPhoto: The Handy Camper · Greg Zimmerman
Electrical adapters and surge protection
A photographed Casita electrical project covering 30 amp, shore power, surge protection. Open Greg Zimmerman’s original walkthrough for the complete parts, measurements and installation context.
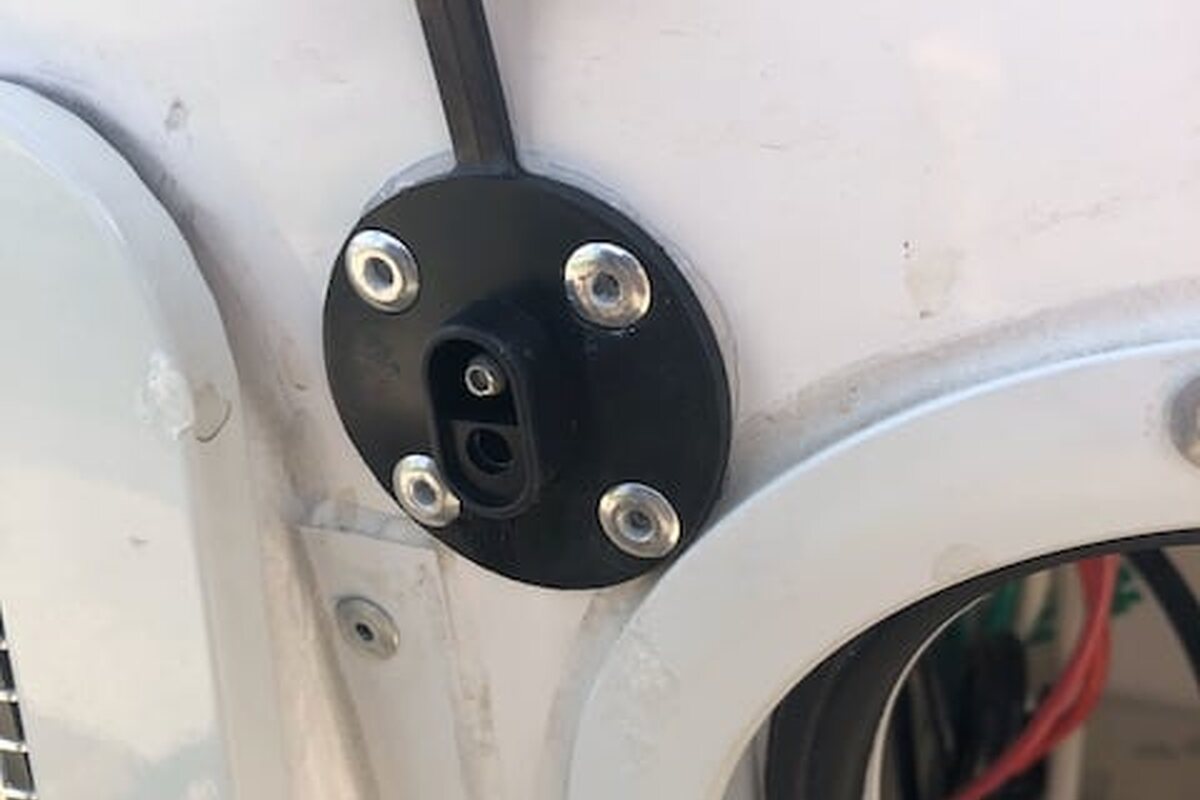 ElectricalPhoto: The Handy Camper · Greg Zimmerman
Solar Port
A photographed Casita electrical project covering solar, portable solar, battery charging. Open Greg Zimmerman’s original walkthrough for the complete parts, measurements and installation context.
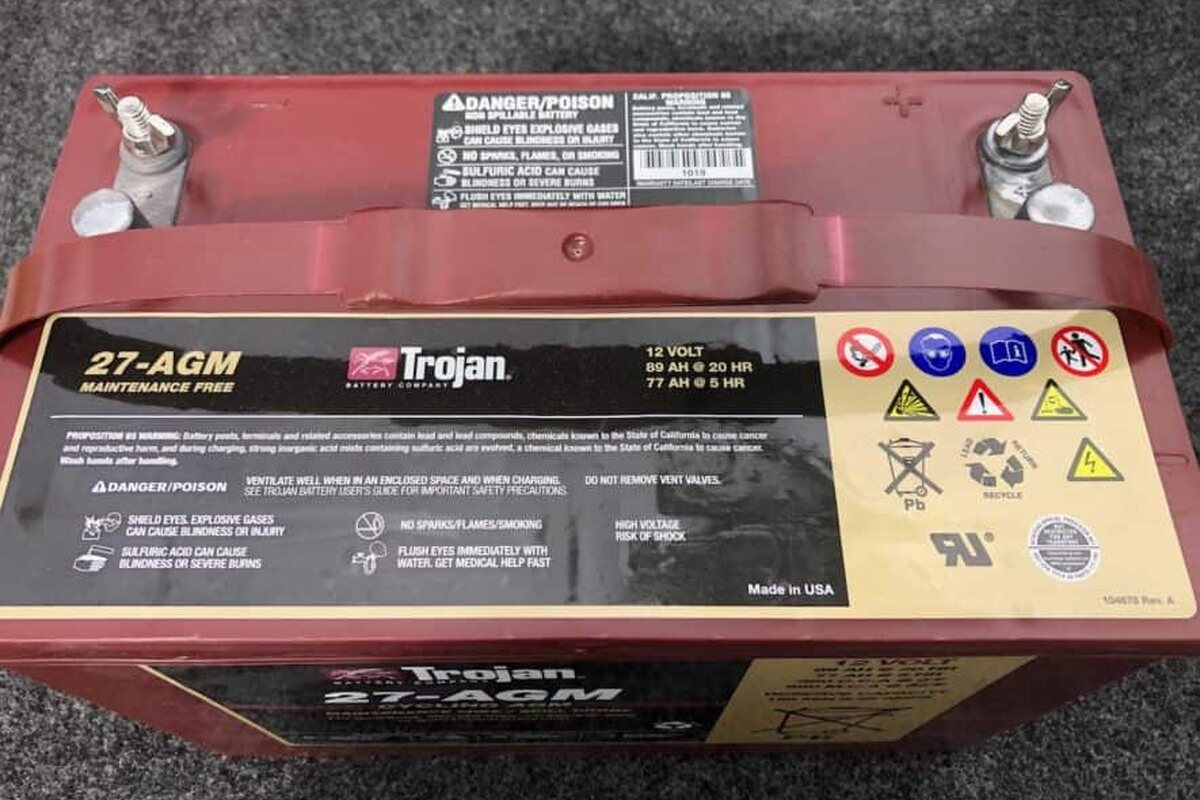 ElectricalPhoto: The Handy Camper · Greg Zimmerman
Battery Upgrade
A photographed Casita electrical project covering battery, 12 volt, capacity. Open Greg Zimmerman’s original walkthrough for the complete parts, measurements and installation context.
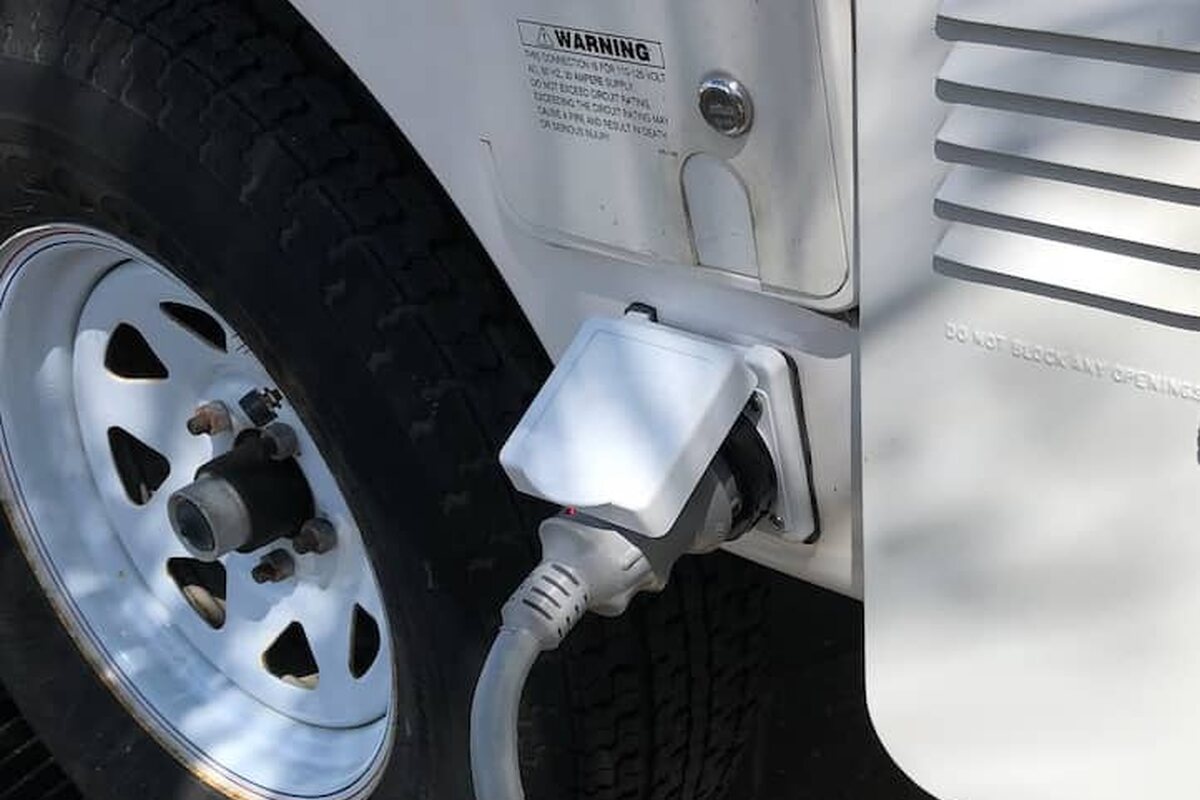 ElectricalPhoto: The Handy Camper · Greg Zimmerman
Detachable Power Cord
A photographed Casita electrical project covering shore power, 30 amp, inlet. Open Greg Zimmerman’s original walkthrough for the complete parts, measurements and installation context.
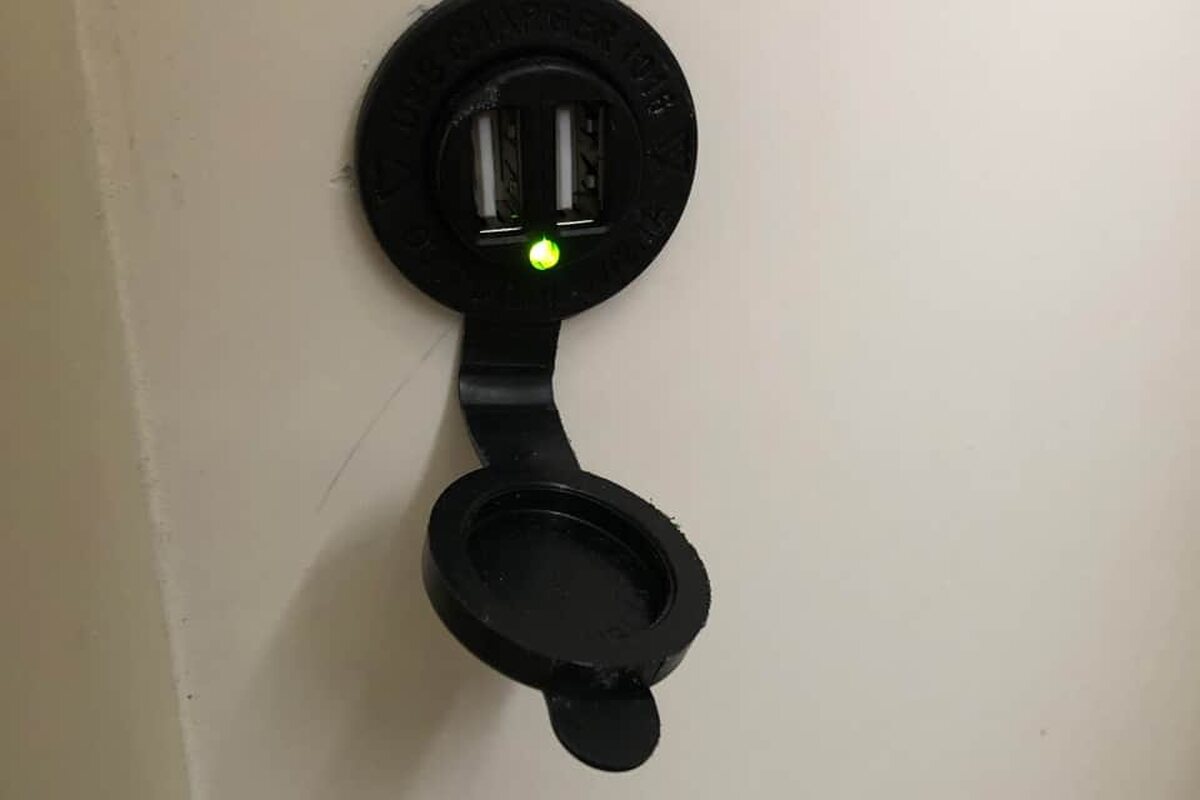 ElectricalPhoto: The Handy Camper · Greg Zimmerman
12 volt USB Charging Port
A photographed Casita electrical project covering 12 volt, USB, charging. Open Greg Zimmerman’s original walkthrough for the complete parts, measurements and installation context.
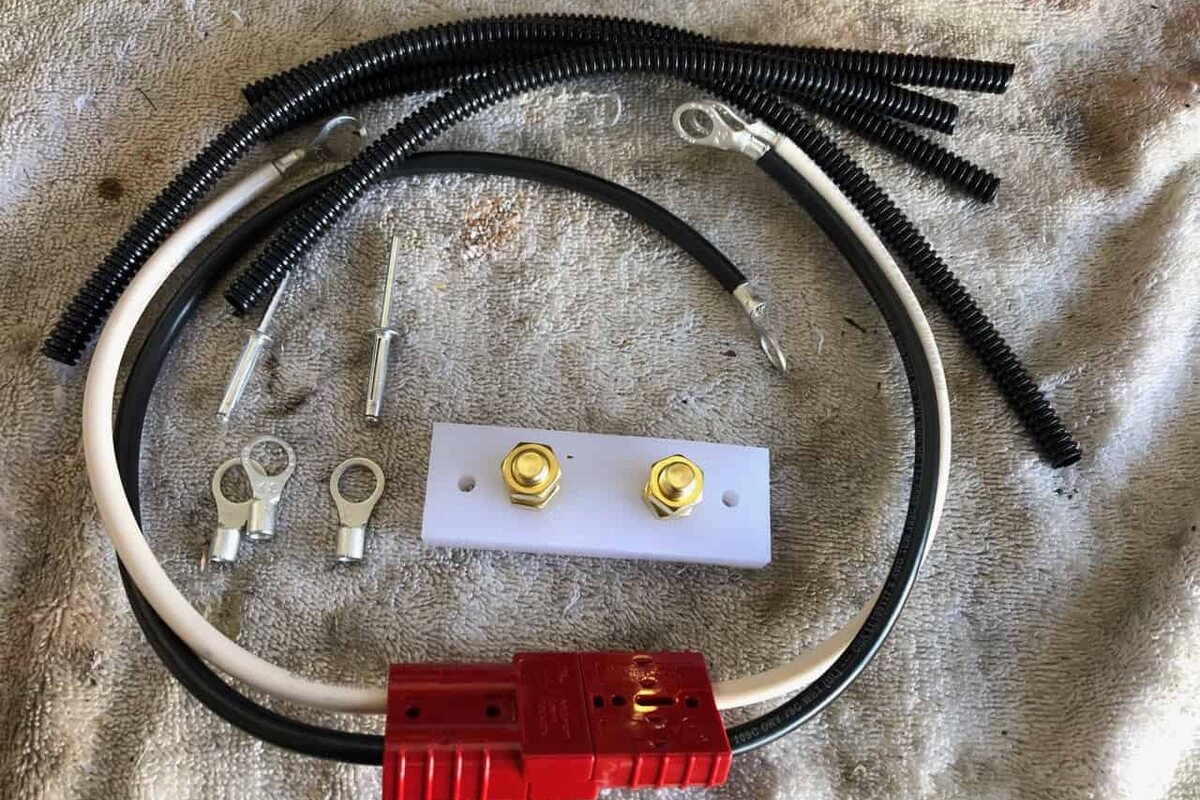 ElectricalPhoto: The Handy Camper · Greg Zimmerman
Battery Disconnect
A photographed Casita electrical project covering battery, disconnect, propane detector. Open Greg Zimmerman’s original walkthrough for the complete parts, measurements and installation context.
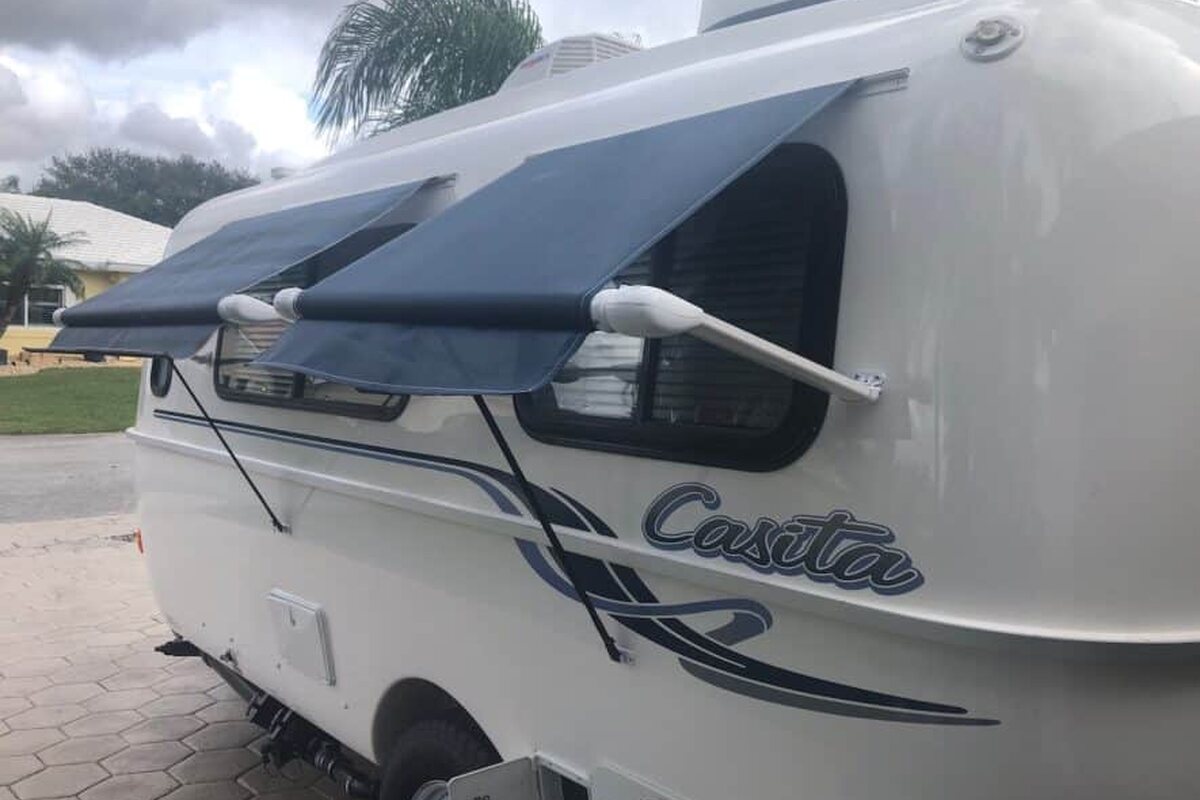 ExteriorPhoto: The Handy Camper · Greg Zimmerman
Window Awnings
A photographed Casita exterior project covering awning, privacy, shade. Open Greg Zimmerman’s original walkthrough for the complete parts, measurements and installation context.
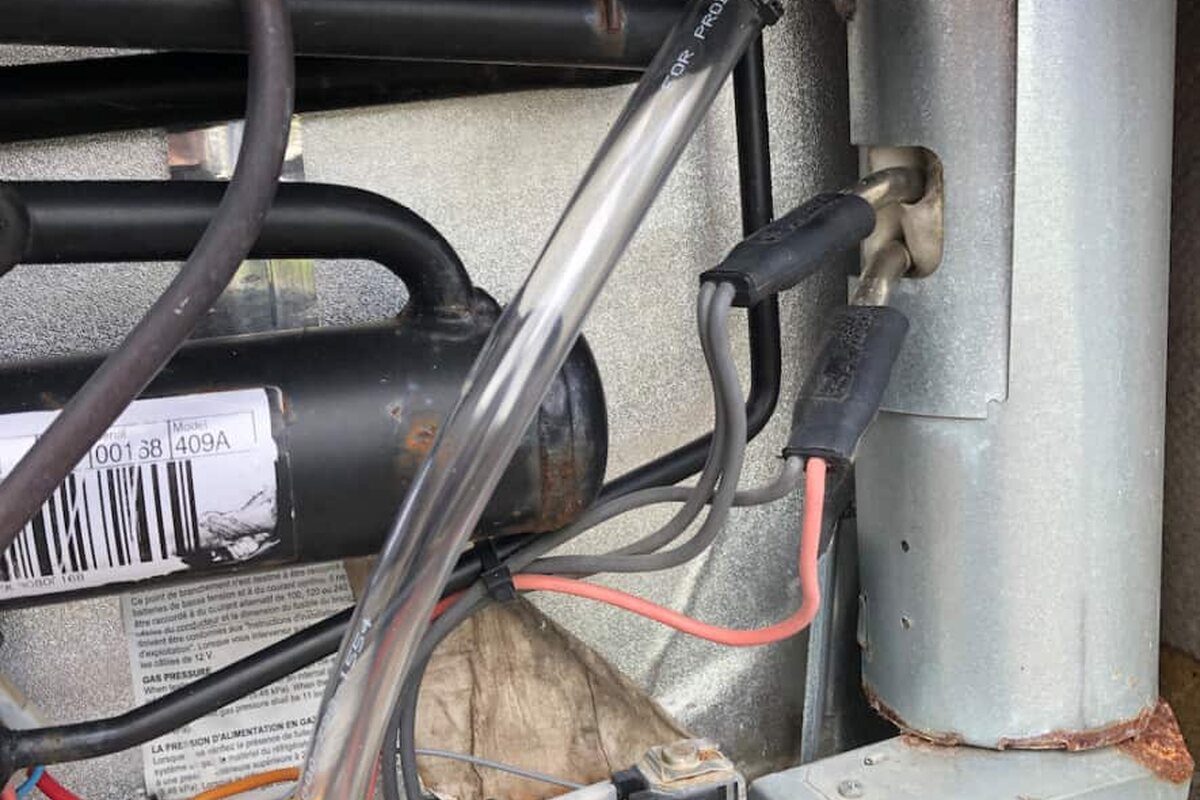 ExteriorPhoto: The Handy Camper · Greg Zimmerman
Fridge Drain Line Fix
A photographed Casita exterior project covering refrigerator, condensation, drain. Open Greg Zimmerman’s original walkthrough for the complete parts, measurements and installation context.
- Article date
- September 2020
- Materials
- About 2 feet of ½-inch clear PVC tubing; two small zip ties
- Tools
- Needle-nose pliers are helpful
- Difficulty
- Author describes a simple repair
- Purpose
- Split condensation drain tubing; not a refrigerator cooling repair
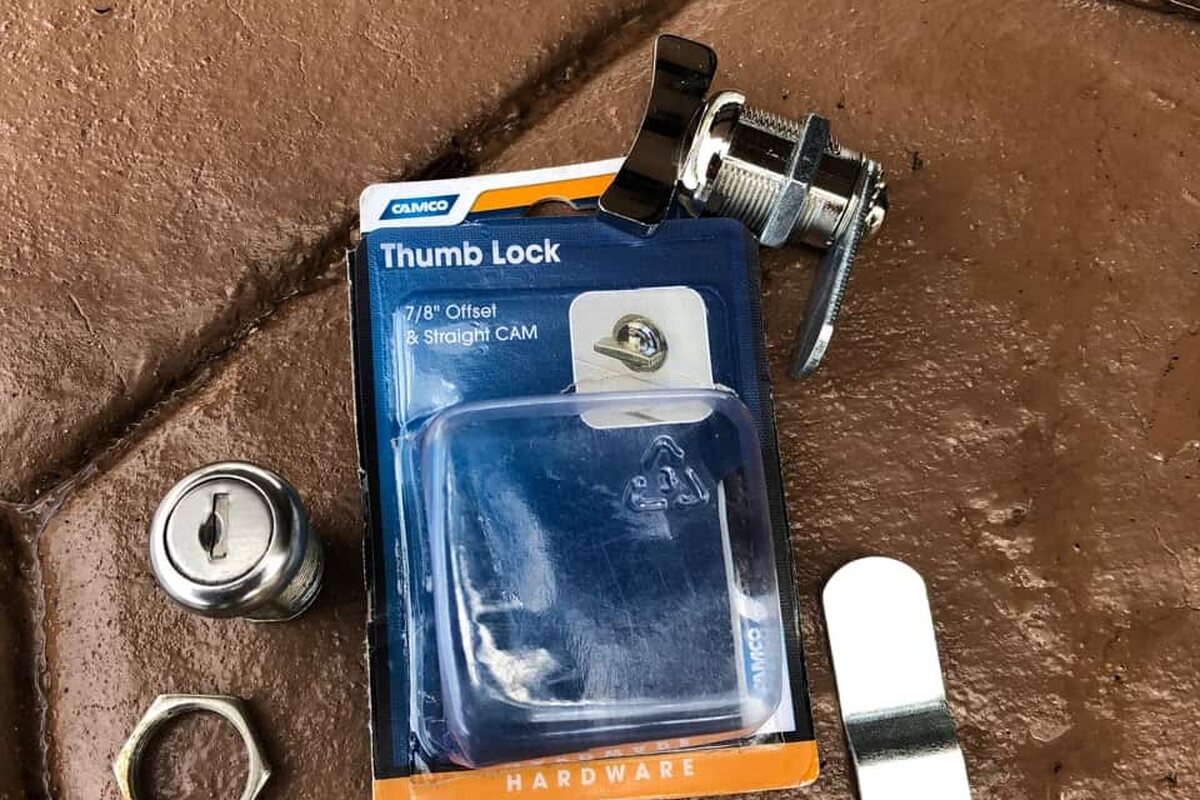 ExteriorPhoto: The Handy Camper · Greg Zimmerman
Thumb Latches for the Hatches
A photographed Casita exterior project covering hatches, latches, access. Open Greg Zimmerman’s original walkthrough for the complete parts, measurements and installation context.
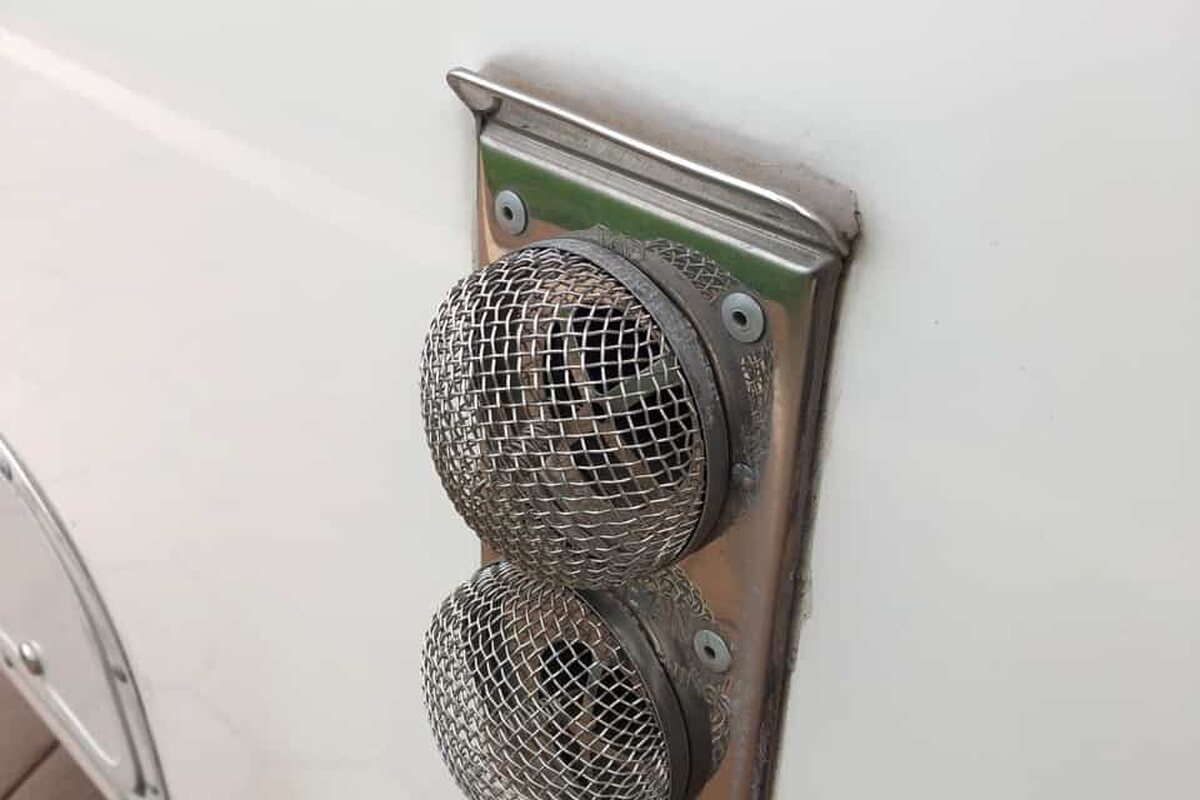 ExteriorPhoto: The Handy Camper · Greg Zimmerman
Bug Screens for the Appliances
A photographed Casita exterior project covering appliance, wasps, maintenance. Open Greg Zimmerman’s original walkthrough for the complete parts, measurements and installation context.
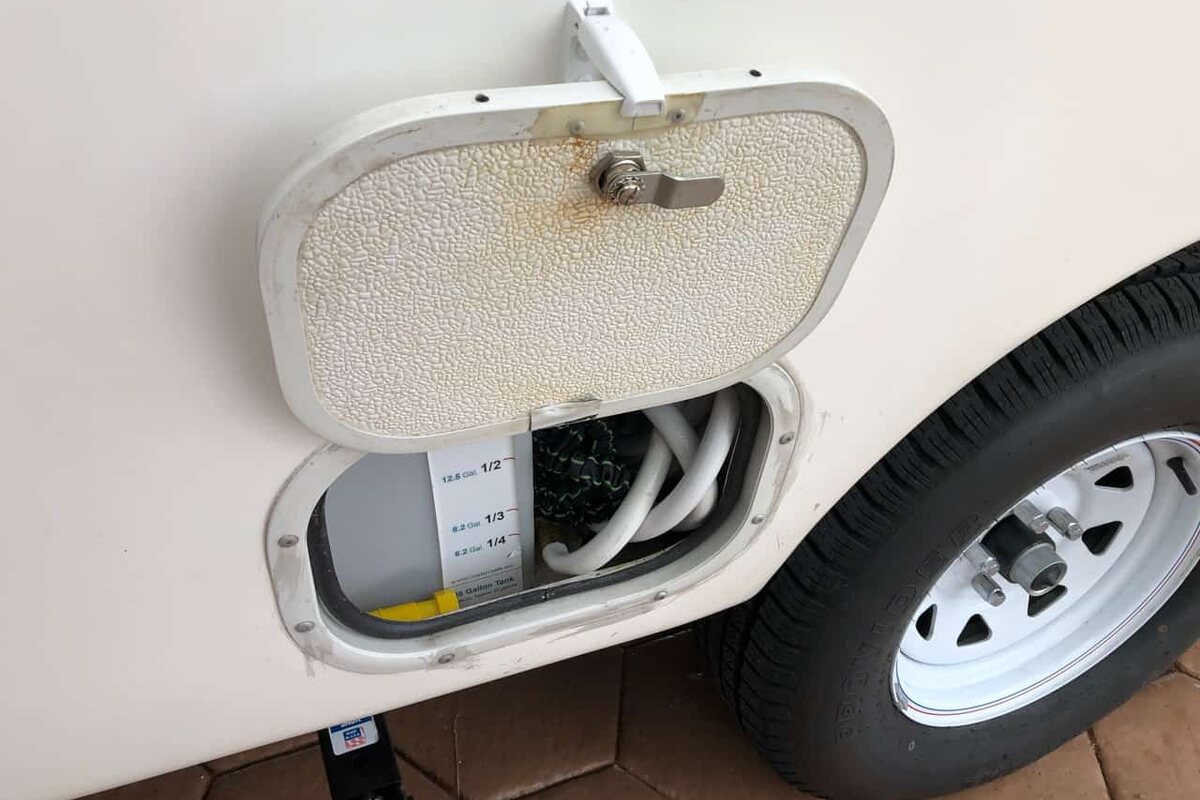 ExteriorPhoto: The Handy Camper · Greg Zimmerman
Water Tank Hatch Holder
A photographed Casita exterior project covering water tank, hatch, access. Open Greg Zimmerman’s original walkthrough for the complete parts, measurements and installation context.
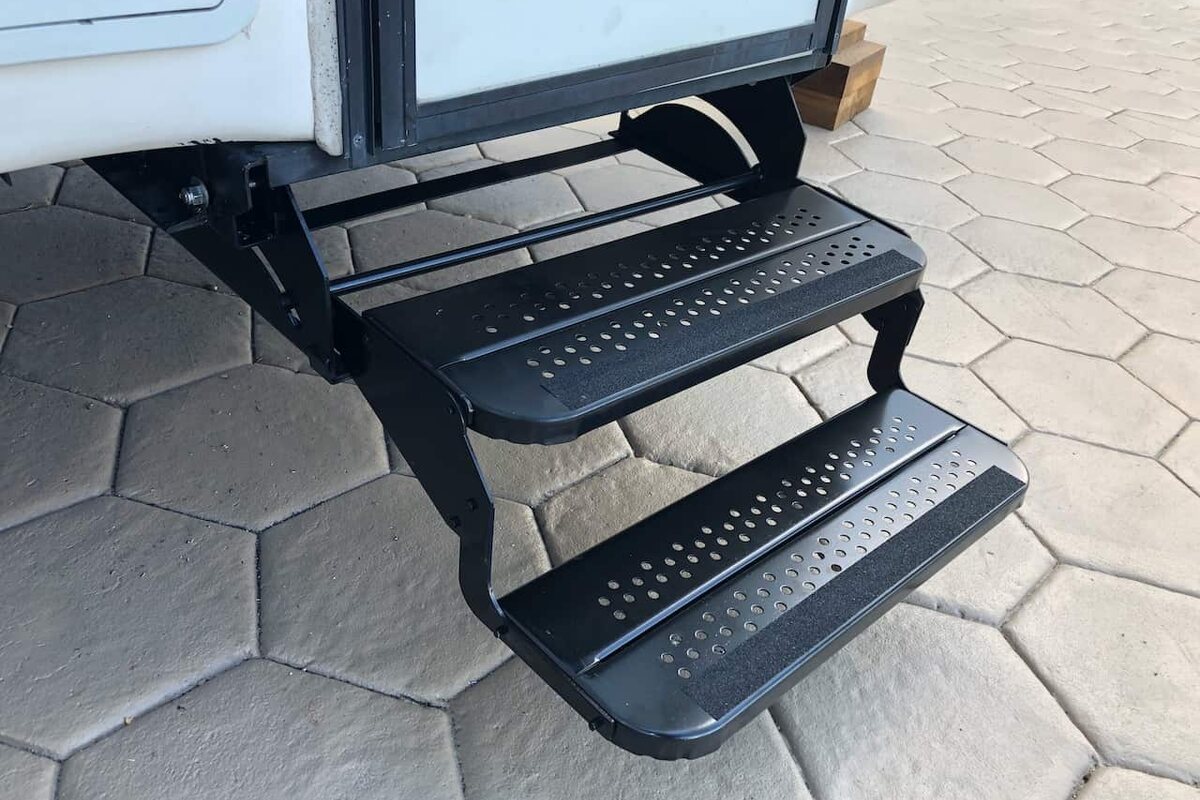 ExteriorPhoto: The Handy Camper · Greg Zimmerman
Double Entry Step
A photographed Casita exterior project covering entry, step, accessibility. Open Greg Zimmerman’s original walkthrough for the complete parts, measurements and installation context.
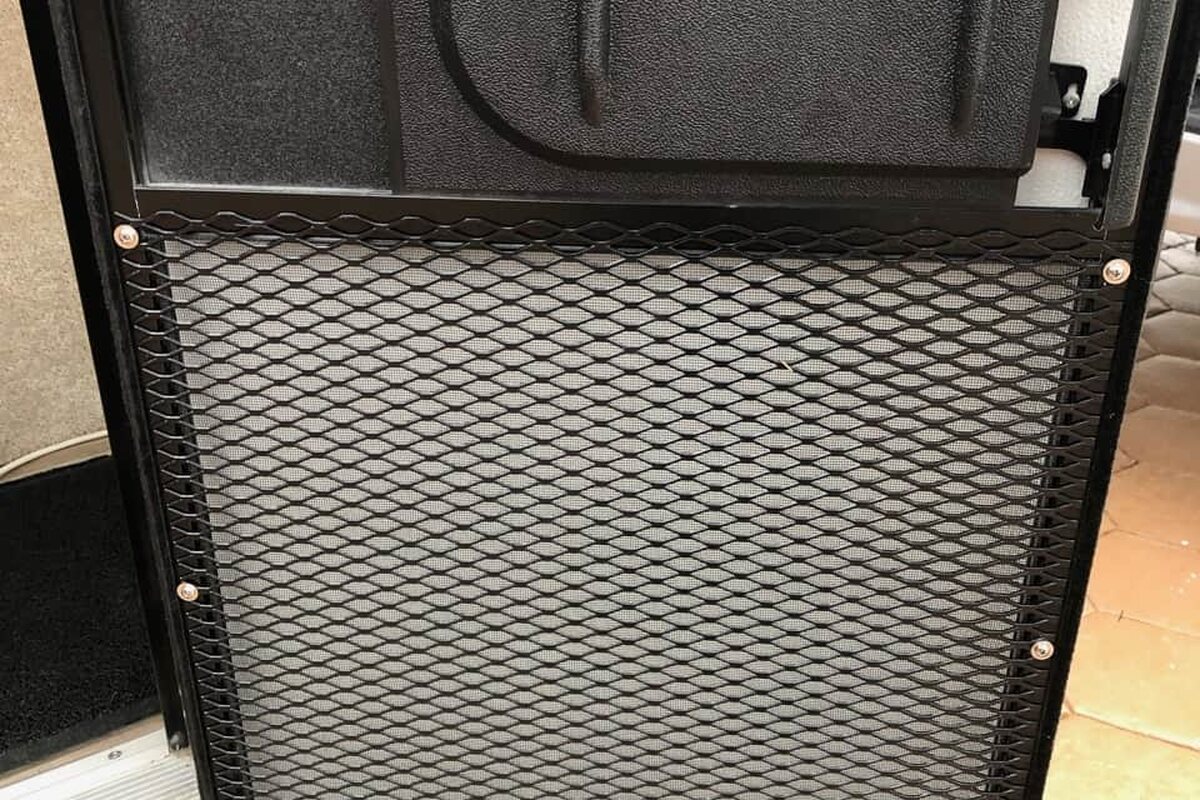 ExteriorPhoto: The Handy Camper · Greg Zimmerman
Screened Door Pet Guard
A photographed Casita exterior project covering screen door, pets, door. Open Greg Zimmerman’s original walkthrough for the complete parts, measurements and installation context.
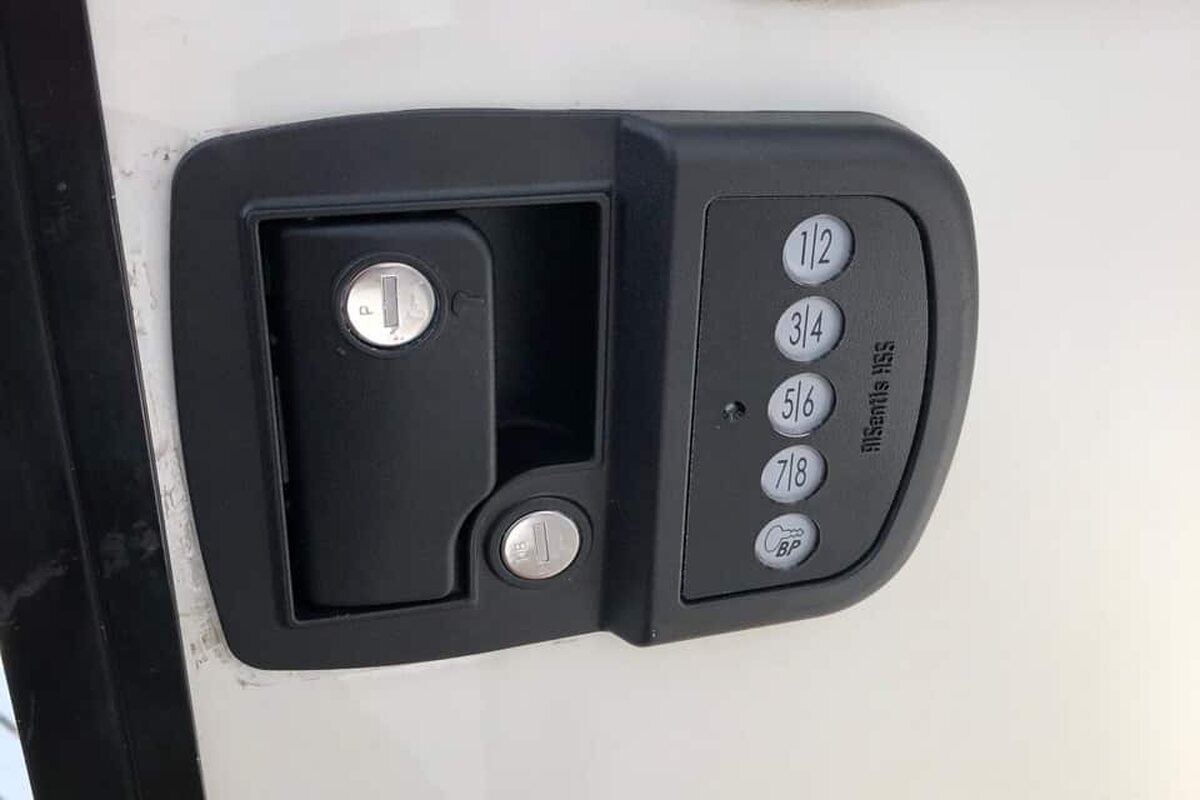 ExteriorPhoto: The Handy Camper · Greg Zimmerman
Keypad Lock
A photographed Casita exterior project covering keyless entry, door, security. Open Greg Zimmerman’s original walkthrough for the complete parts, measurements and installation context.
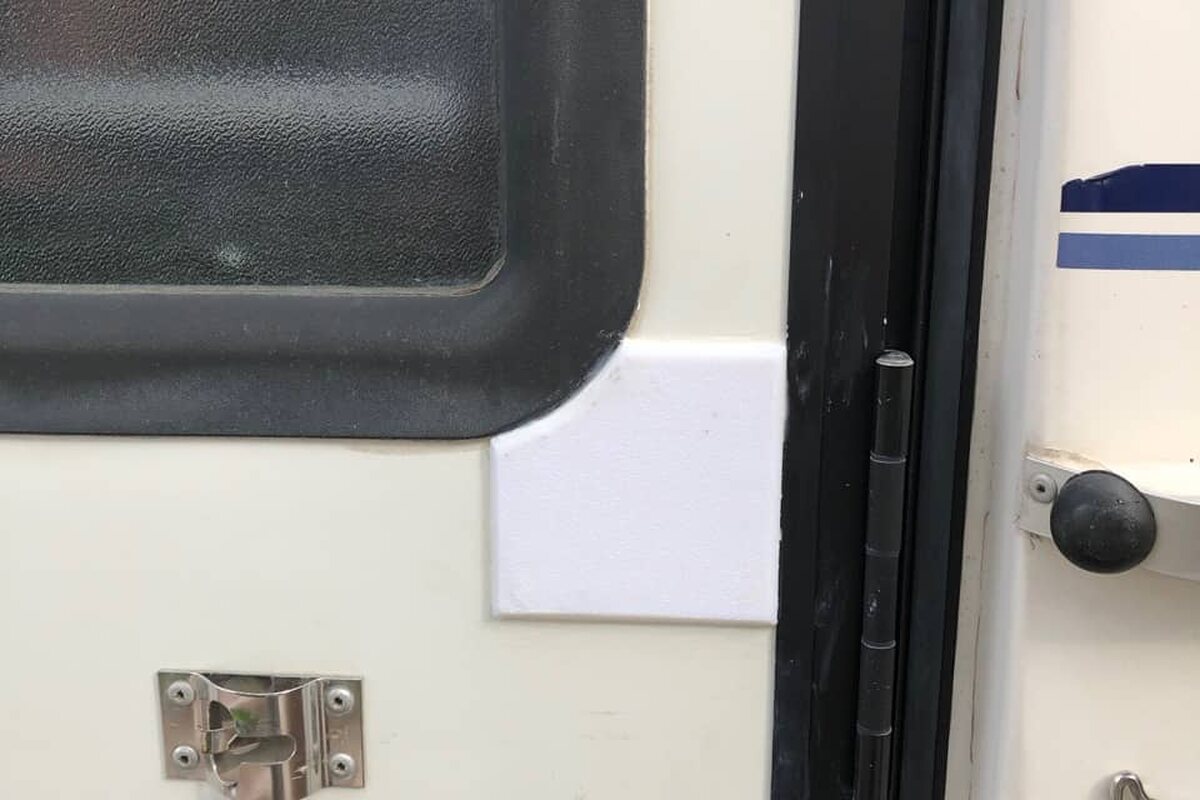 ExteriorPhoto: The Handy Camper · Greg Zimmerman
Entry Door Reinforcement/Repair for $6
A photographed Casita exterior project covering door, repair, belly band. Open Greg Zimmerman’s original walkthrough for the complete parts, measurements and installation context.
- Article date
- December 2018; updated January 2023
- Cost at the time
- About $6 for parts in the 2018 article
- Materials
- 4-inch plastic wall stop and dome bumper
- Tools
- Bandsaw or jigsaw; pencil
- Idea credit
- Greg credits CasitaForum member Euphoria
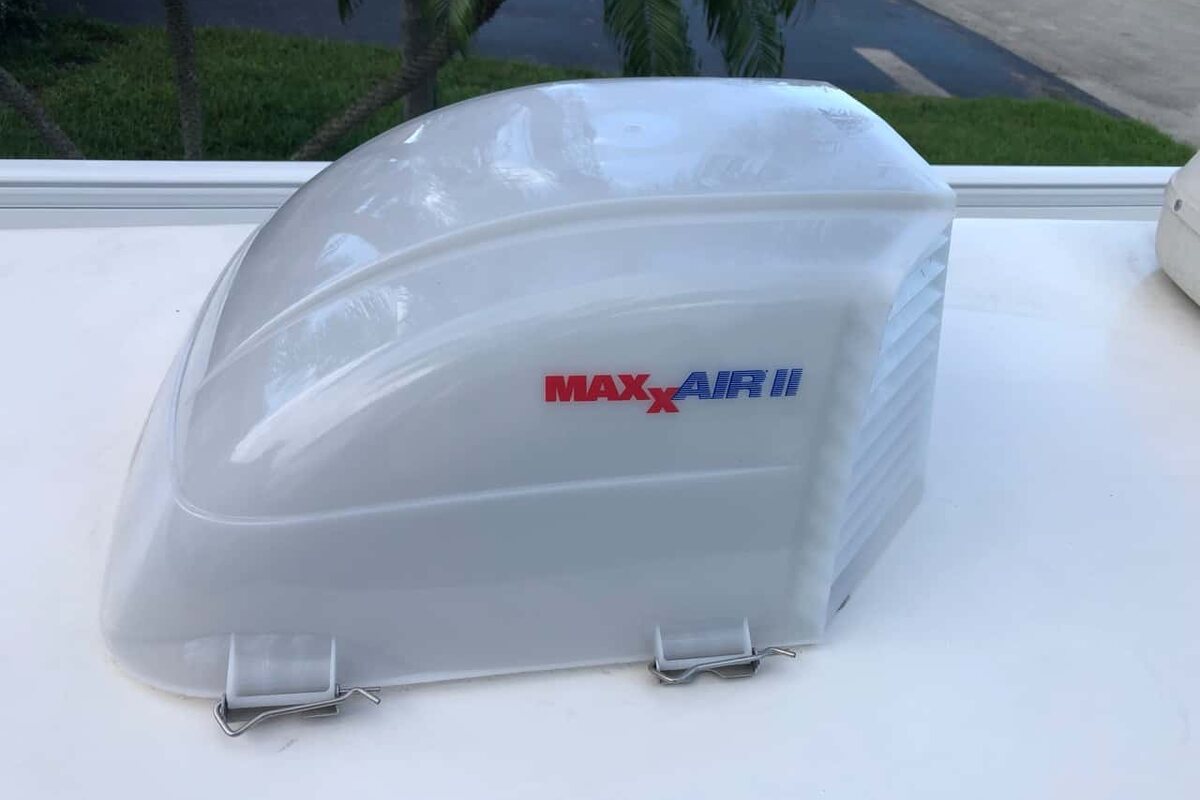 ExteriorPhoto: The Handy Camper · Greg Zimmerman
Maxx Air II fan cover
A photographed Casita exterior project covering roof vent, ventilation, rain. Open Greg Zimmerman’s original walkthrough for the complete parts, measurements and installation context.
 ExteriorPhoto: The Handy Camper · Greg Zimmerman
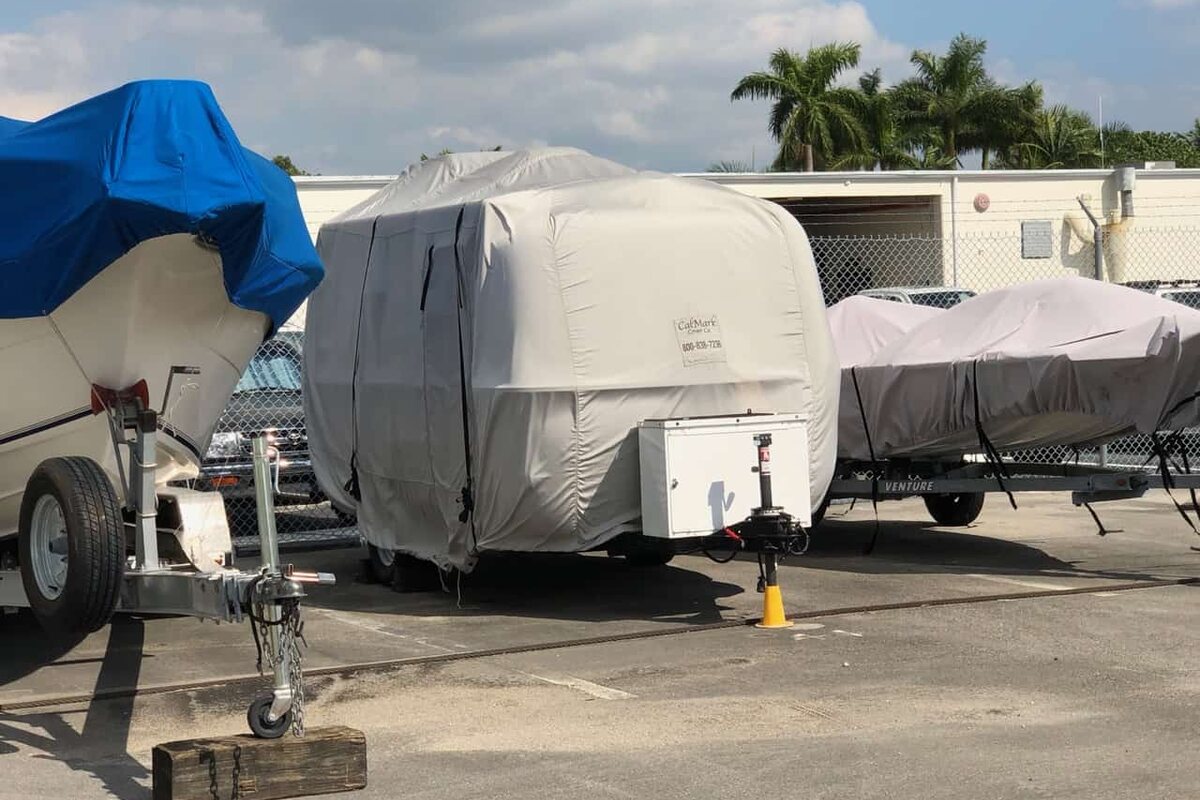
Calmark Cover
A photographed Casita exterior project covering cover, storage, weather protection. Open Greg Zimmerman’s original walkthrough for the complete parts, measurements and installation context.
 ExteriorPhoto: The Handy Camper · Greg Zimmerman
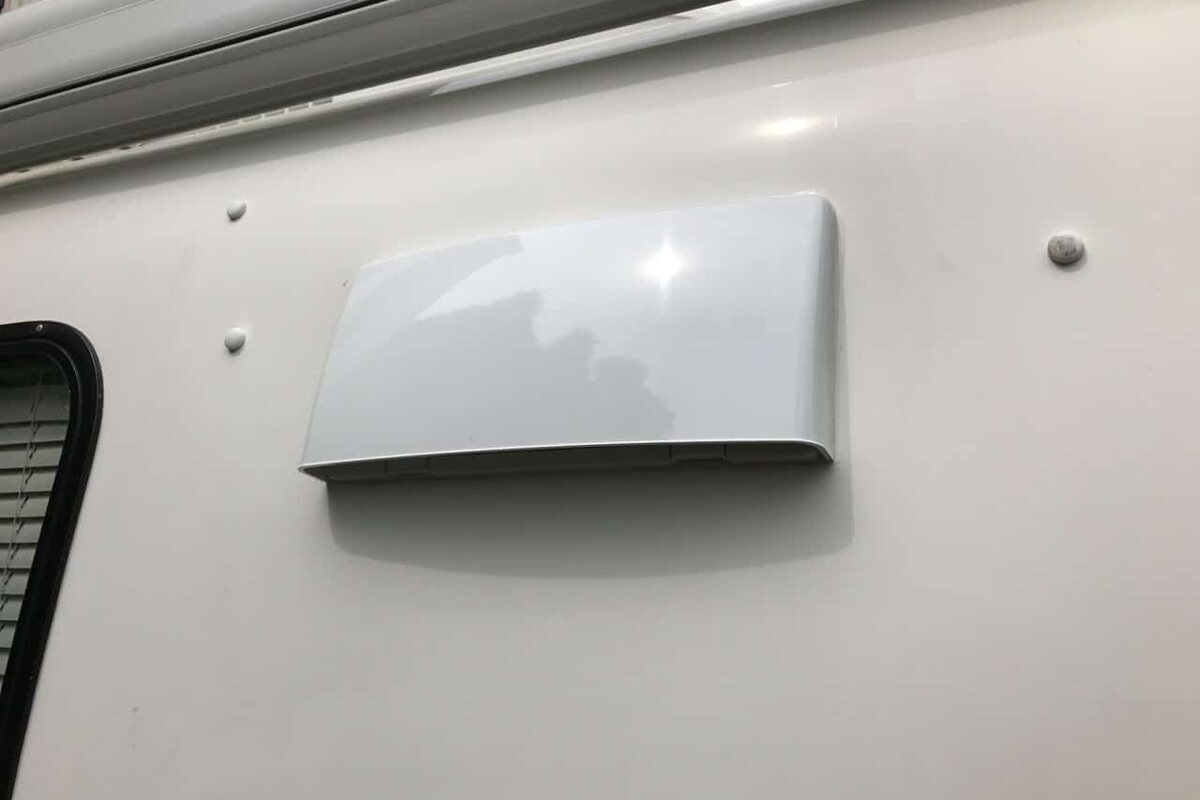
Kitchen Vent Upgrade
A photographed Casita exterior project covering kitchen, vent, exterior. Open Greg Zimmerman’s original walkthrough for the complete parts, measurements and installation context.
 InteriorPhoto: The Handy Camper · Greg Zimmerman
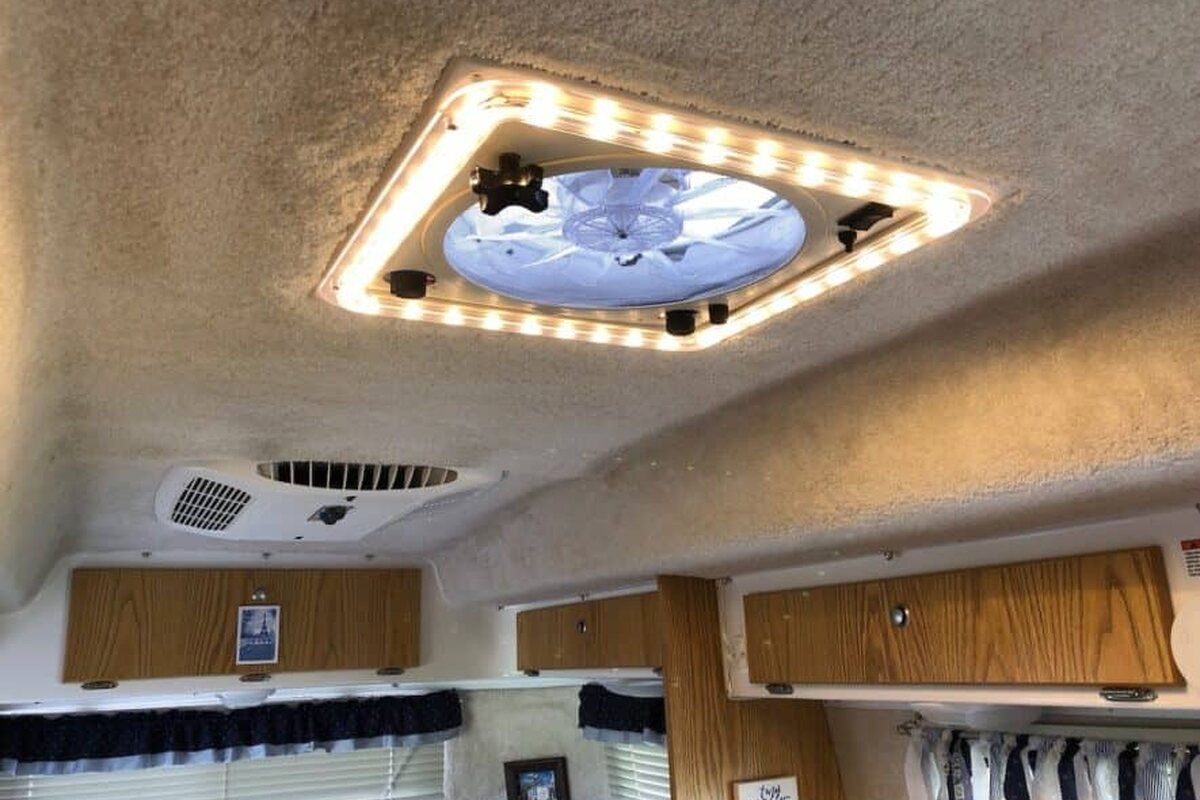
LED Chandelier for roof vent
A photographed Casita interior project covering lighting, LED, roof vent. Open Greg Zimmerman’s original walkthrough for the complete parts, measurements and installation context.
 InteriorPhoto: The Handy Camper · Greg Zimmerman
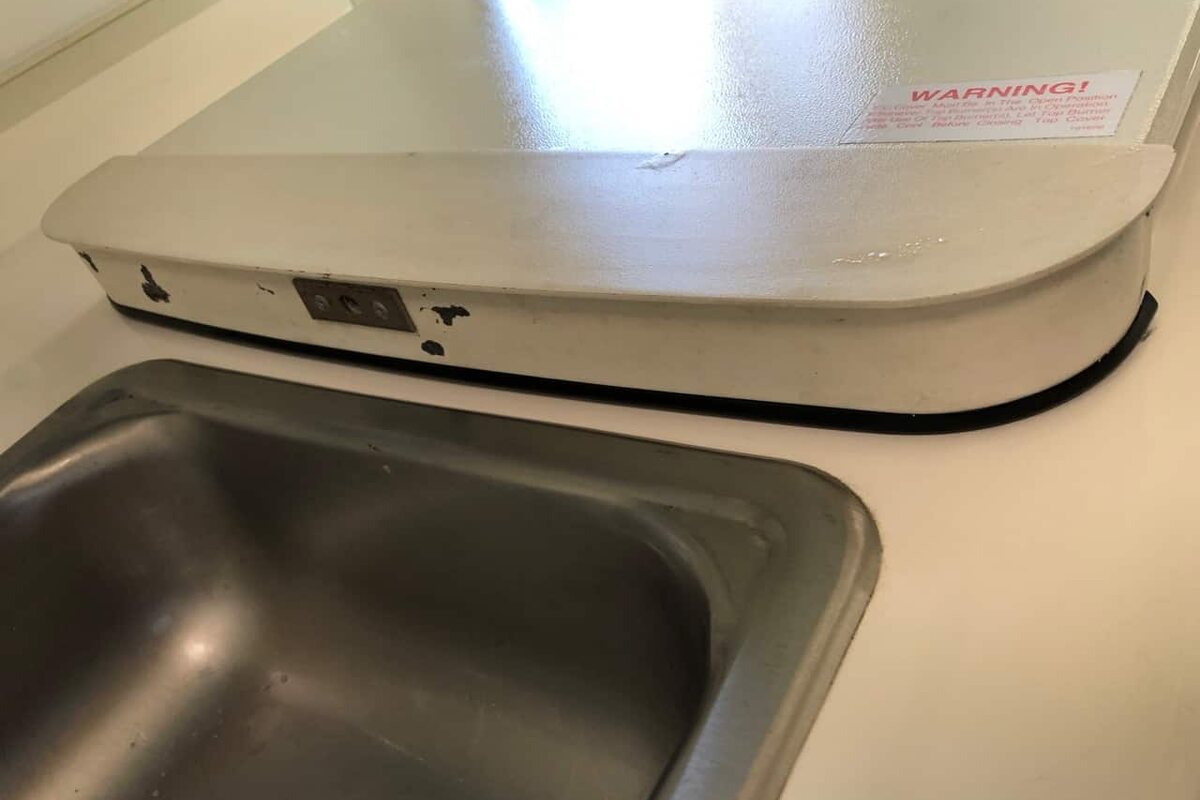
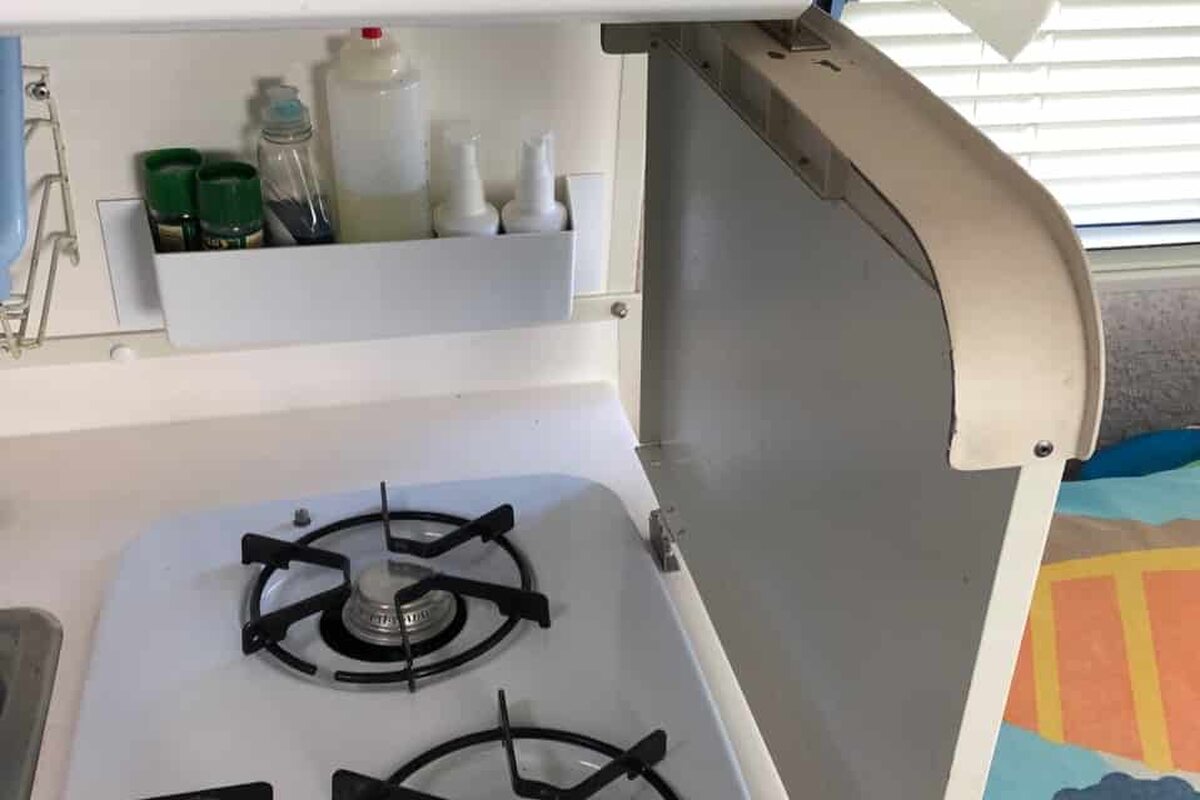
Stove Cover Fix
A photographed Casita interior project covering kitchen, stove, countertop. Open Greg Zimmerman’s original walkthrough for the complete parts, measurements and installation context.
 InteriorPhoto: The Handy Camper · Greg Zimmerman
Fix’n the Kitchen
A photographed Casita interior project covering kitchen, lighting, storage. Open Greg Zimmerman’s original walkthrough for the complete parts, measurements and installation context.
 InteriorPhoto: The Handy Camper · Greg Zimmerman
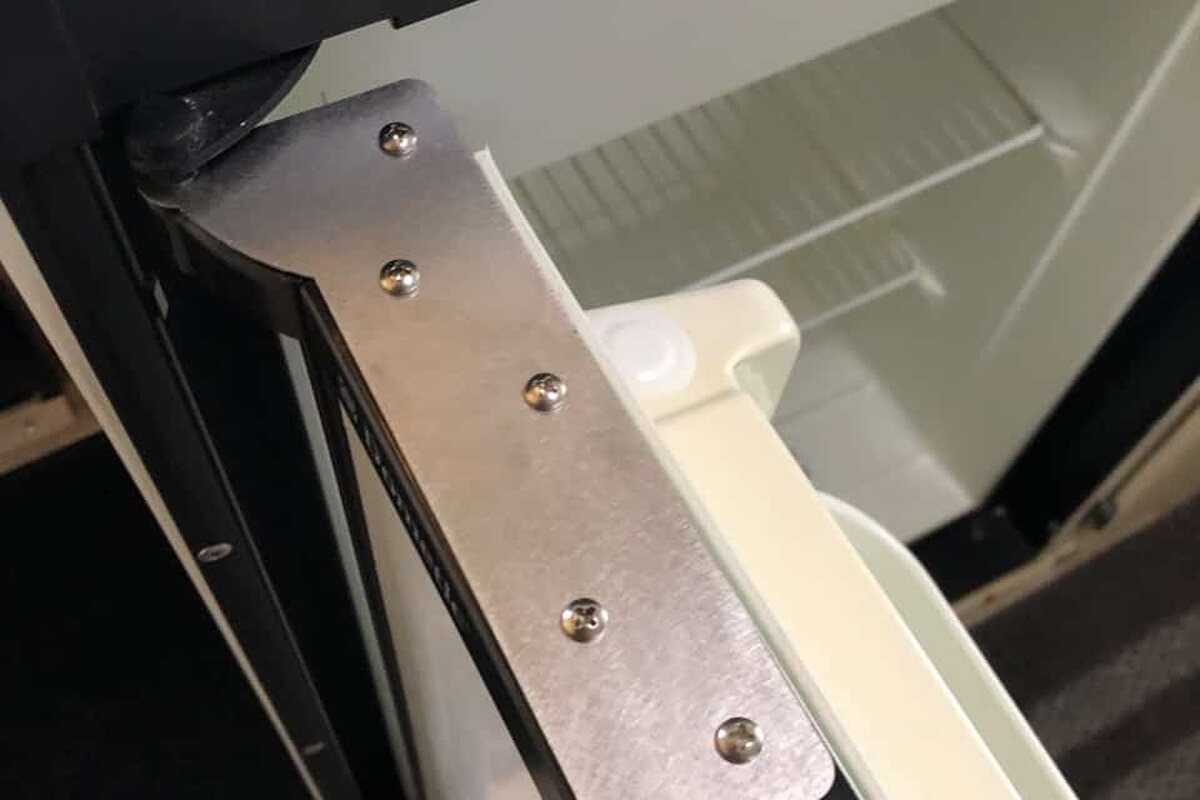
Refrigerator Hinge Reinforcement
A photographed Casita interior project covering refrigerator, hinge, repair. Open Greg Zimmerman’s original walkthrough for the complete parts, measurements and installation context.
 InteriorPhoto: The Handy Camper · Greg Zimmerman
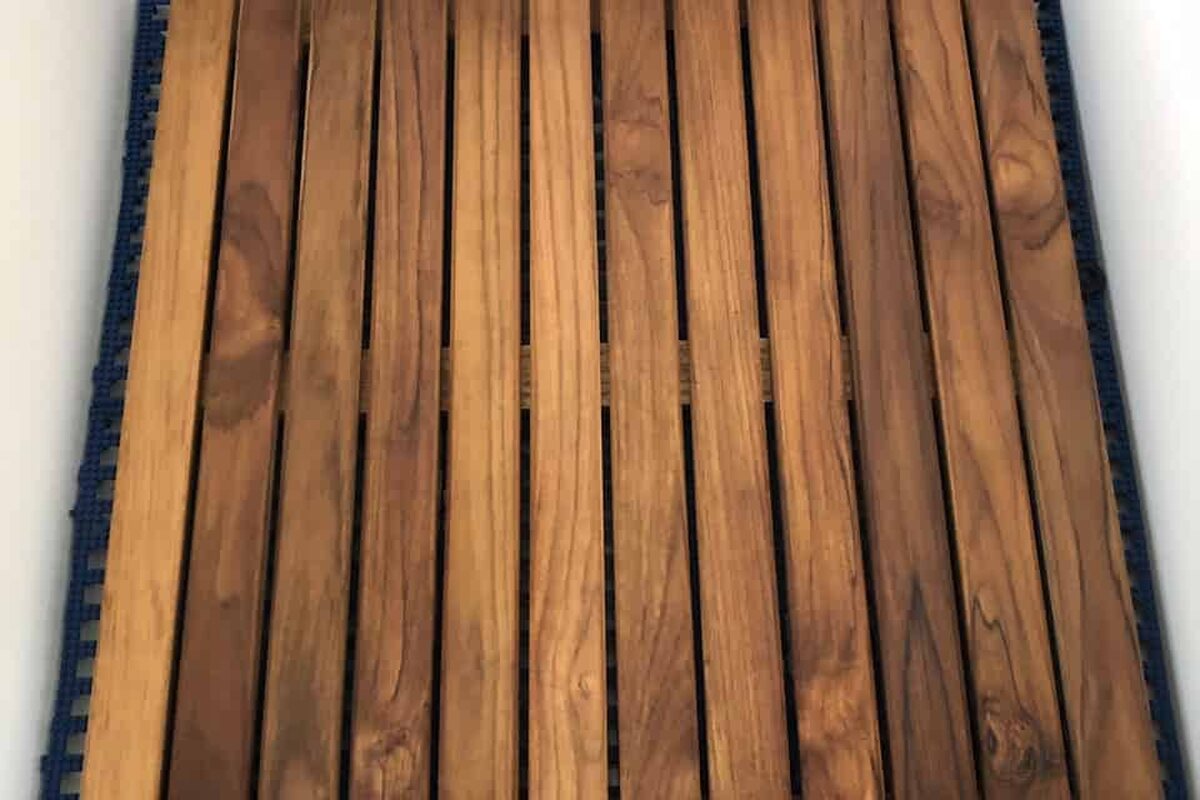
Bathroom Upgrades
A photographed Casita interior project covering bathroom, wet bath, storage. Open Greg Zimmerman’s original walkthrough for the complete parts, measurements and installation context.
 InteriorPhoto: The Handy Camper · Greg Zimmerman
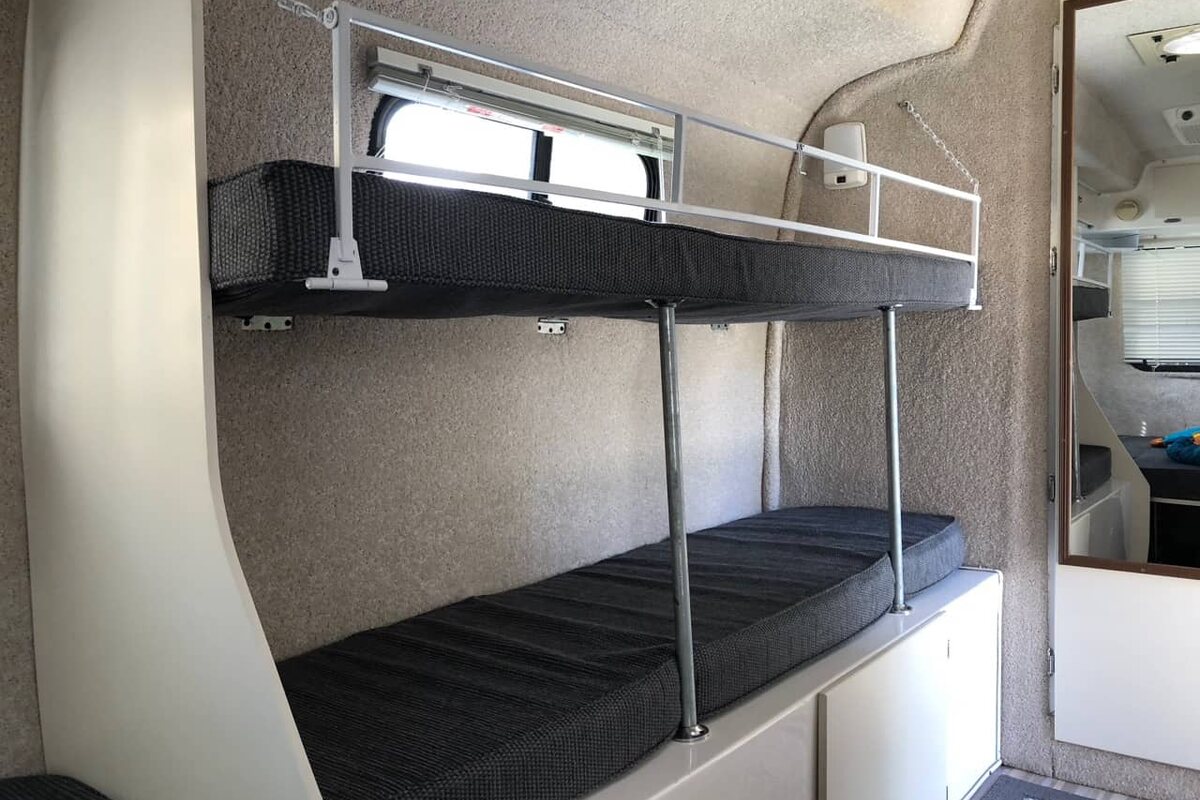
New Cushion Covers
A photographed Casita interior project covering upholstery, cushions, dinette. Open Greg Zimmerman’s original walkthrough for the complete parts, measurements and installation context.
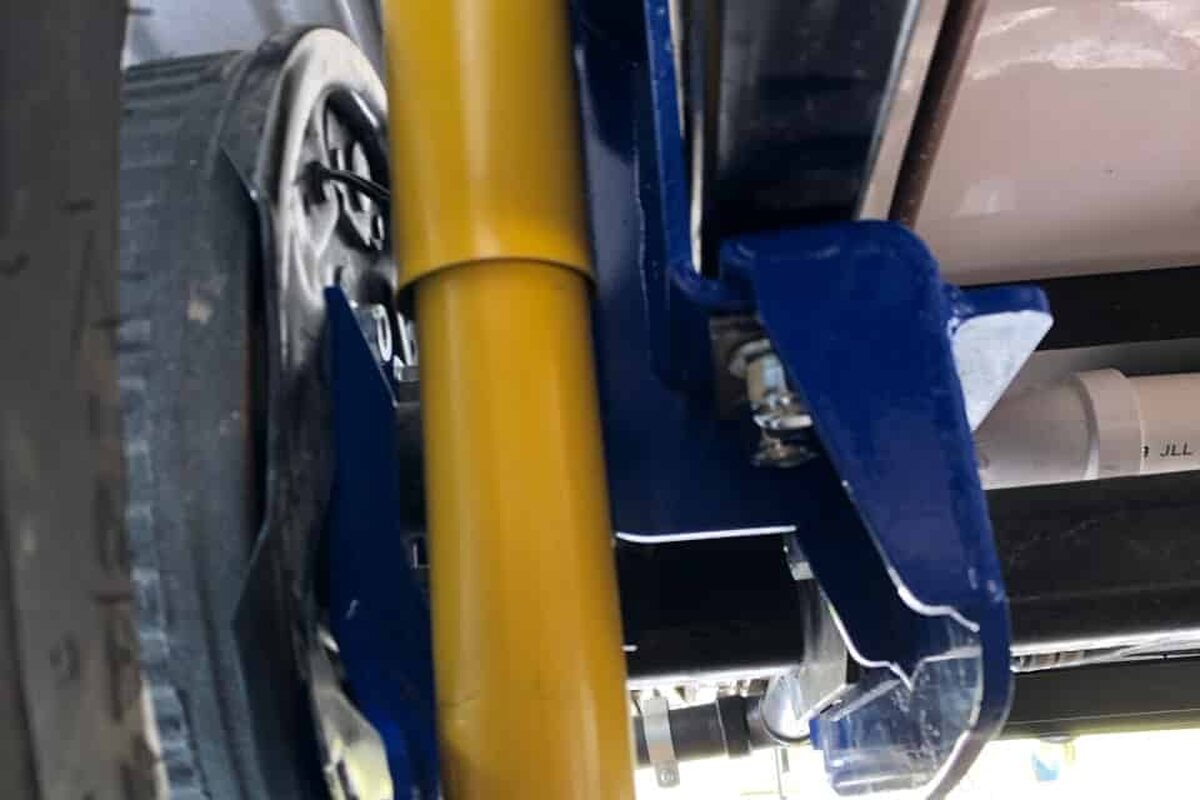 Running gearPhoto: The Handy Camper · Greg Zimmerman
Shock Absorbers
A photographed Casita running gear project covering suspension, axle, towing. Open Greg Zimmerman’s original walkthrough for the complete parts, measurements and installation context.
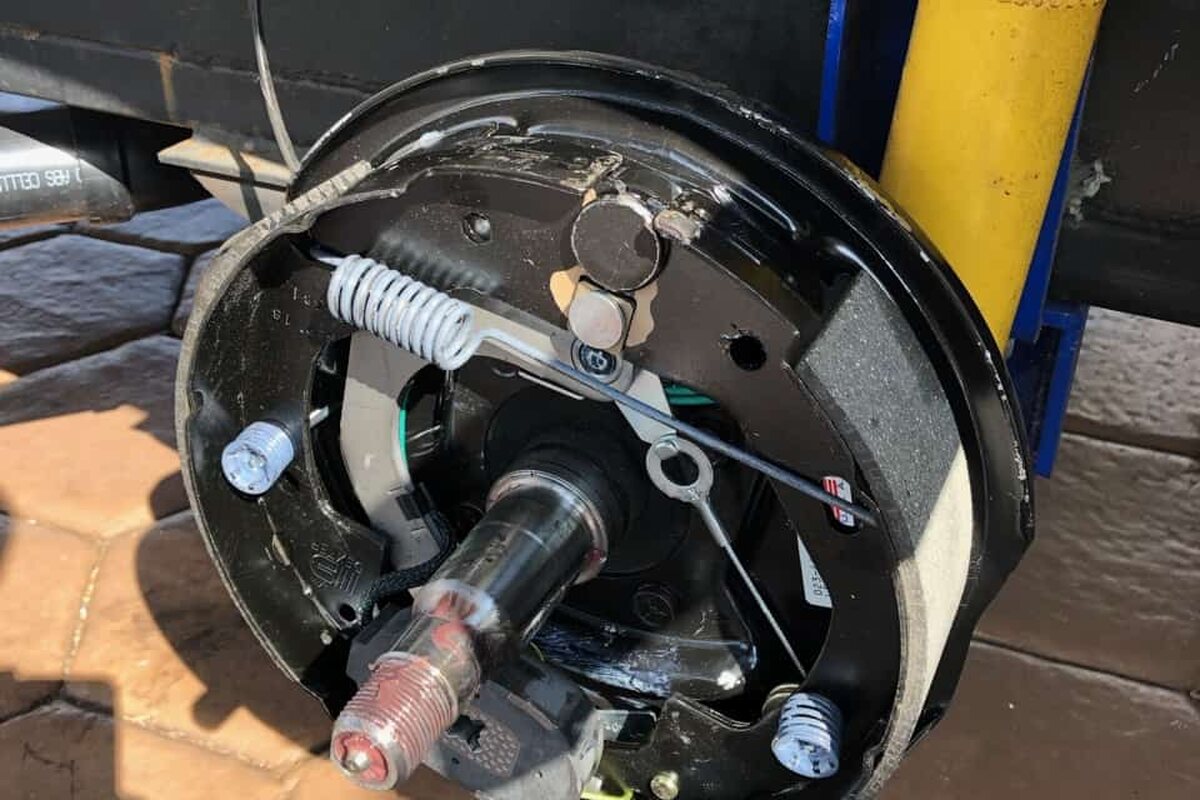 Running gearPhoto: The Handy Camper · Greg Zimmerman
Wheel Bearing Replacement
A photographed Casita running gear project covering bearings, hub, maintenance. Open Greg Zimmerman’s original walkthrough for the complete parts, measurements and installation context.
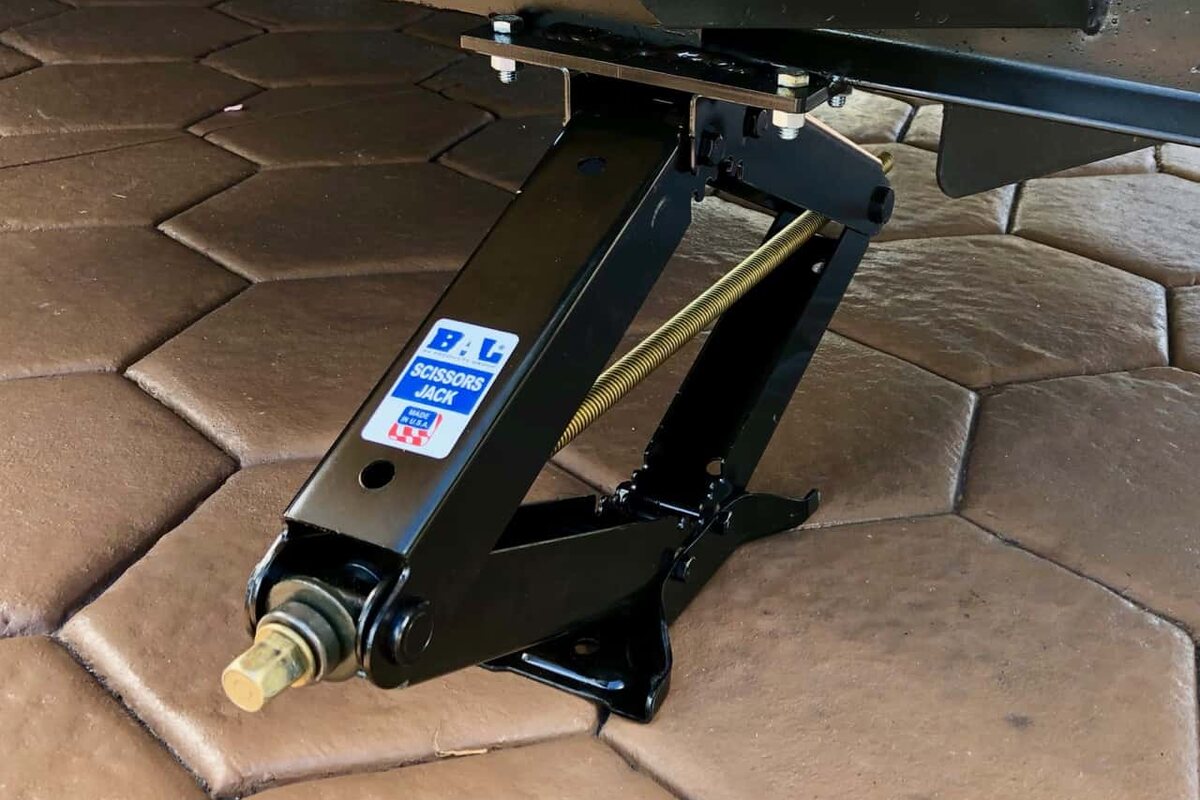 Running gearPhoto: The Handy Camper · Greg Zimmerman
Stabilizer Jacks
A photographed Casita running gear project covering jacks, stability, setup. Open Greg Zimmerman’s original walkthrough for the complete parts, measurements and installation context.
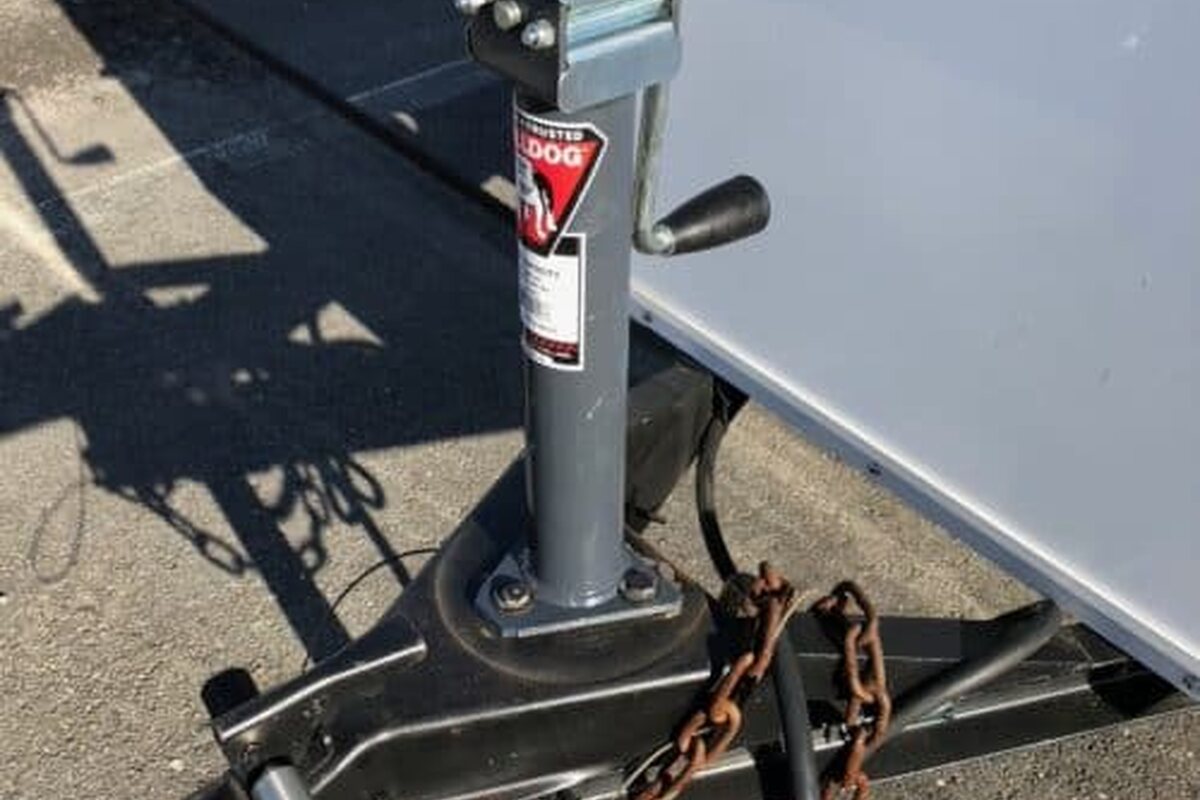 Running gearPhoto: The Handy Camper · Greg Zimmerman
Ground Tackle
A photographed Casita running gear project covering chocks, leveling, safety. Open Greg Zimmerman’s original walkthrough for the complete parts, measurements and installation context.
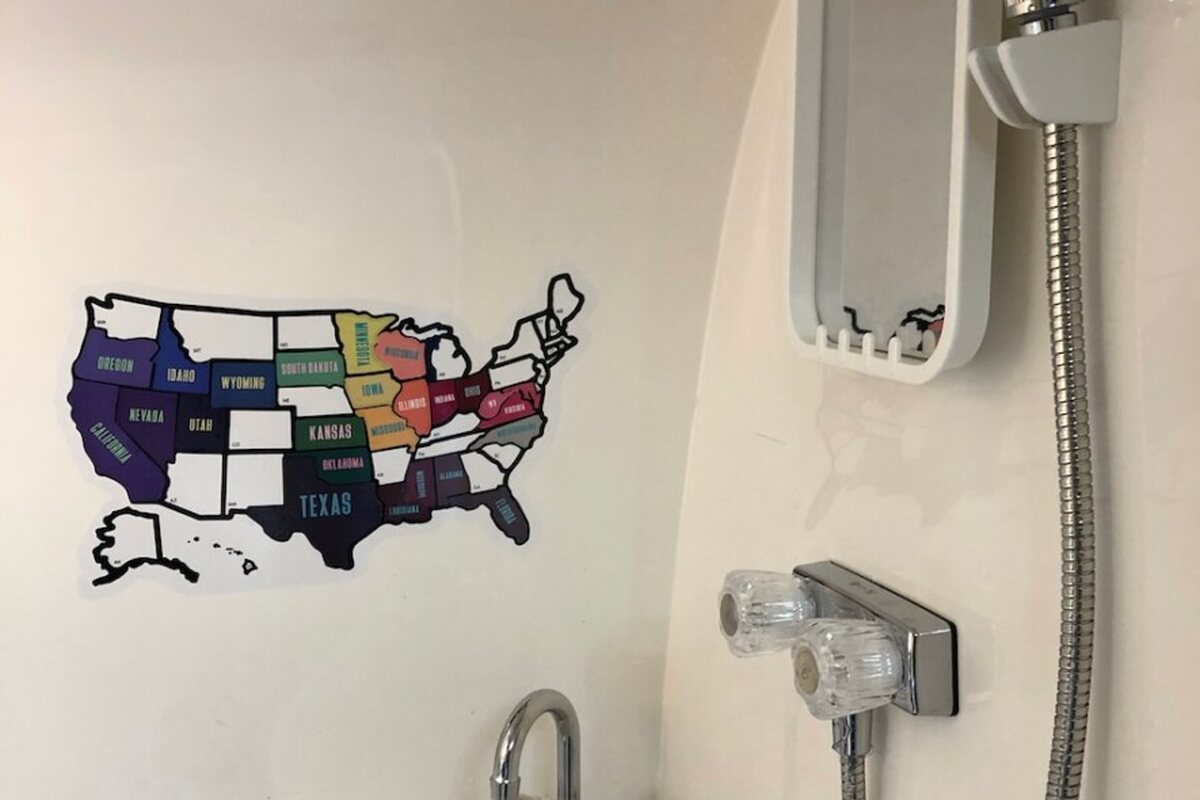 PlumbingPhoto: The Handy Camper · Greg Zimmerman
Bathroom Shower Upgrade
A photographed Casita plumbing project covering bathroom, shower, PEX. Open Greg Zimmerman’s original walkthrough for the complete parts, measurements and installation context.
- Article date
- November 2023
- Parts
- LHC bathroom kit or DuraFaucet DF-SA100 and DF-PB150A with PEX fittings
- Tools
- Drill, 3/16-inch and 1-inch bits, PEX cutter; fitting-dependent crimper
- Dimensions
- Mixer mounting holes 4 inches apart
- Fit
- Corner-sink bathrooms; excludes integrated vanity described by author as 2018+
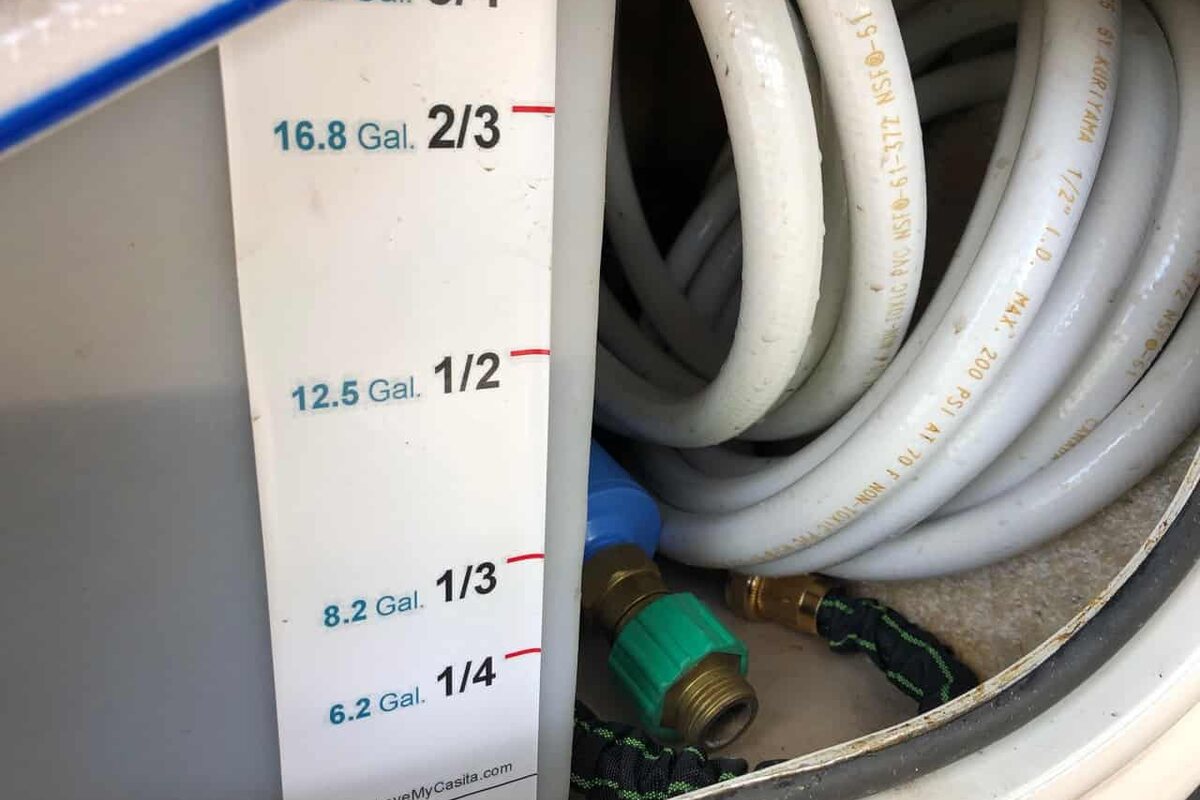 PlumbingPhoto: The Handy Camper · Greg Zimmerman
Water Tank Vent Modification
A photographed Casita plumbing project covering water tank, vent, Spirit. Open Greg Zimmerman’s original walkthrough for the complete parts, measurements and installation context.
- Article date
- Displayed May 2022; updated November 2023
- Materials
- 25-foot, ½-inch drinking-water hose; zip ties and hose clamp
- Difficulty
- Author describes an easy, inexpensive modification
- Fit
- Spirit/Freedom curb-side kitchen layouts
- Purpose
- Fresh water escaping through the vent on uphill travel
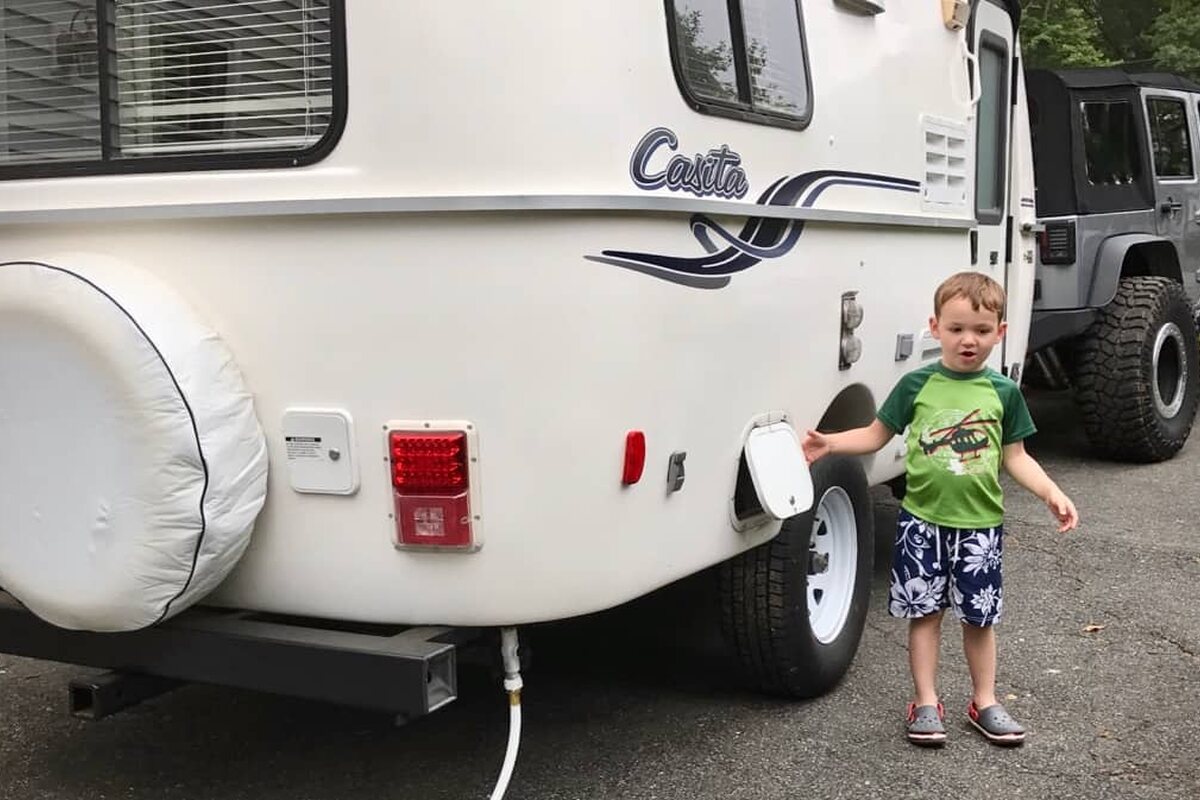 PlumbingPhoto: The Handy Camper · Greg Zimmerman
Water Colors: Clear, Grey, and Black
A photographed Casita plumbing project covering fresh water, gray water, black water. Open Greg Zimmerman’s original walkthrough for the complete parts, measurements and installation context.
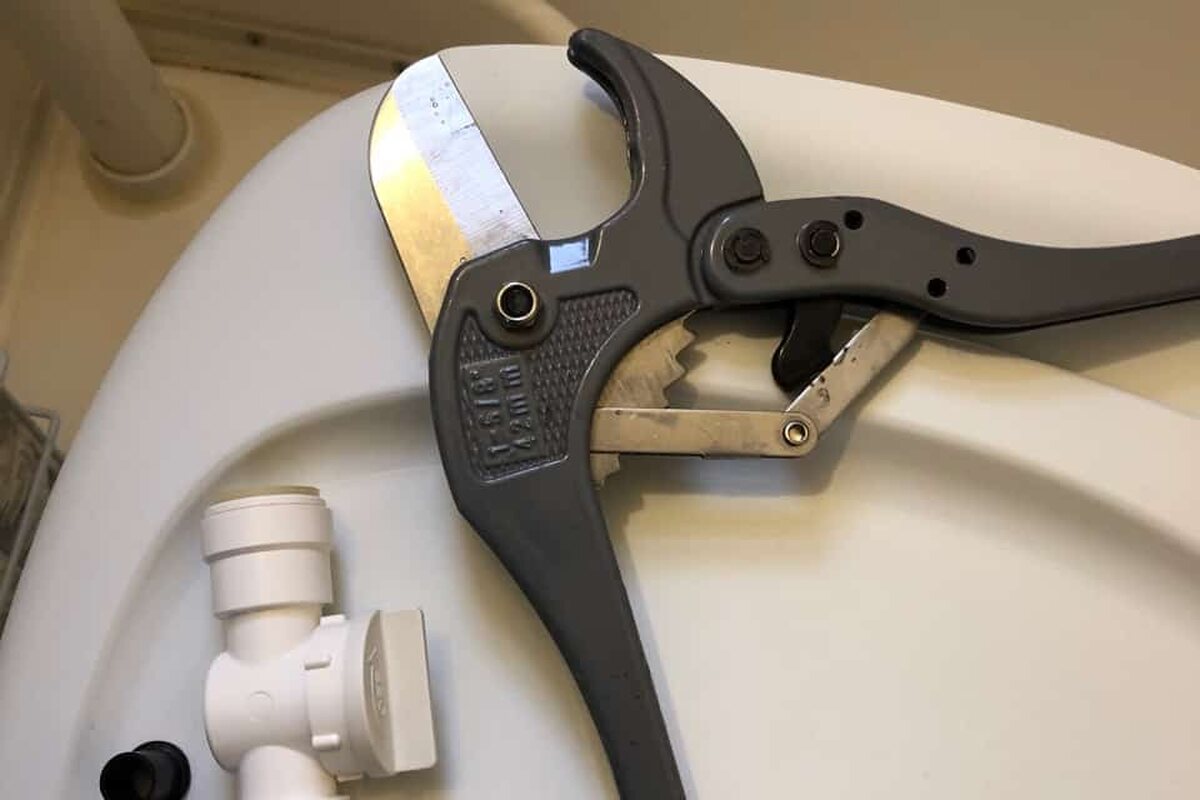 PlumbingPhoto: The Handy Camper · Greg Zimmerman
Toilet Supply Shut-Off
A photographed Casita plumbing project covering toilet, shutoff, safety. Open Greg Zimmerman’s original walkthrough for the complete parts, measurements and installation context.
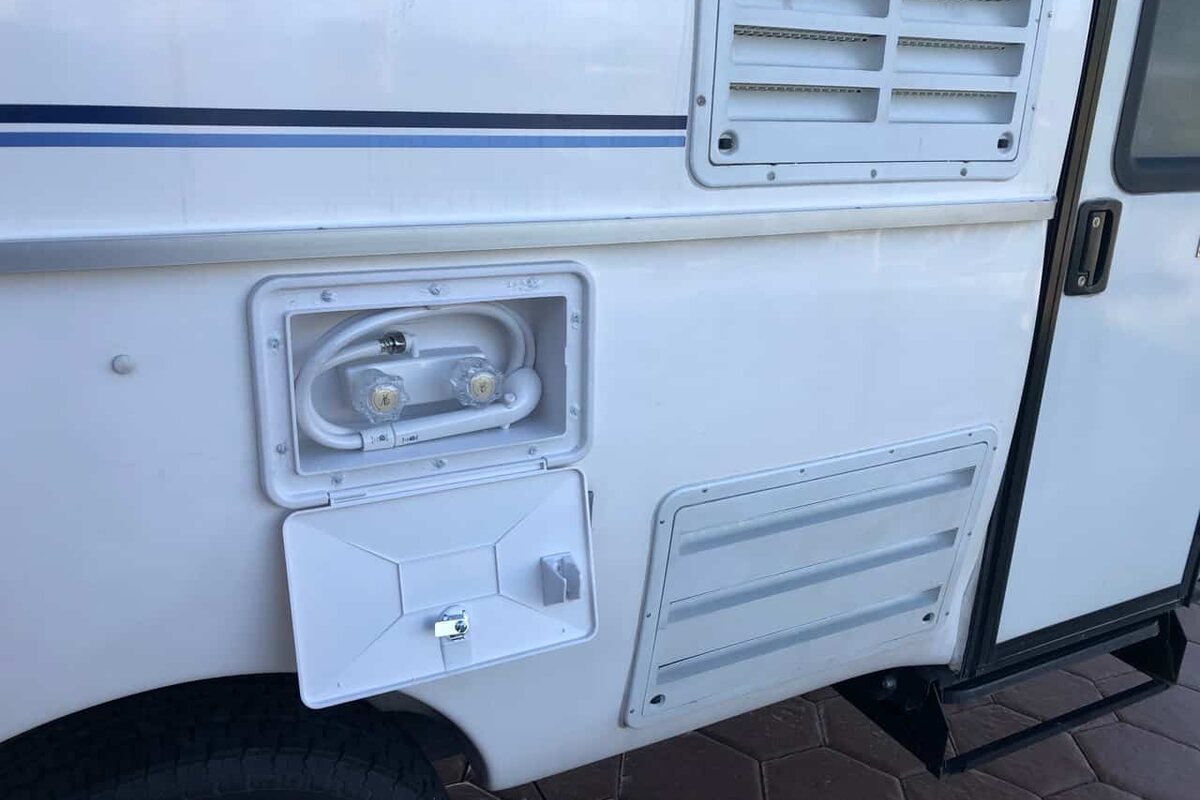 PlumbingPhoto: The Handy Camper · Greg Zimmerman
Outside Shower
A photographed Casita plumbing project covering shower, PEX, exterior. Open Greg Zimmerman’s original walkthrough for the complete parts, measurements and installation context.
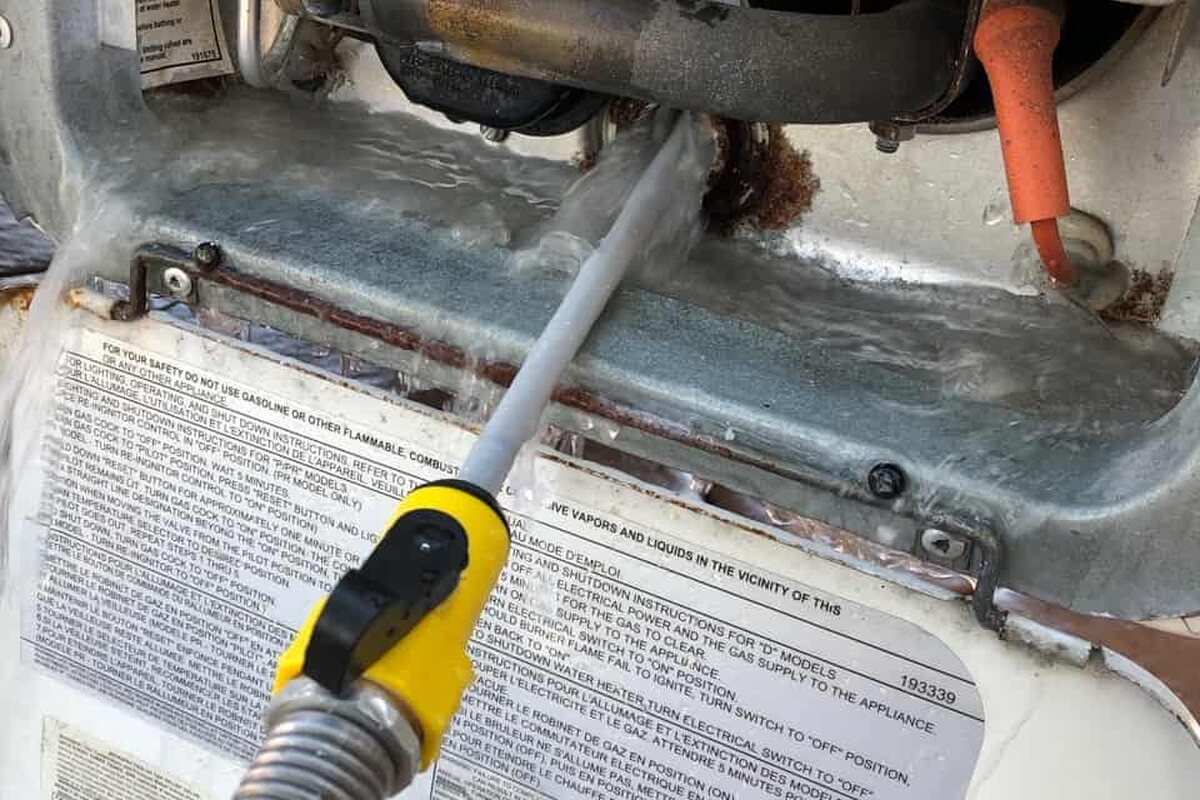 PlumbingPhoto: The Handy Camper · Greg Zimmerman
Water Heater Annual Service
A photographed Casita plumbing project covering water heater, anode, maintenance. Open Greg Zimmerman’s original walkthrough for the complete parts, measurements and installation context.
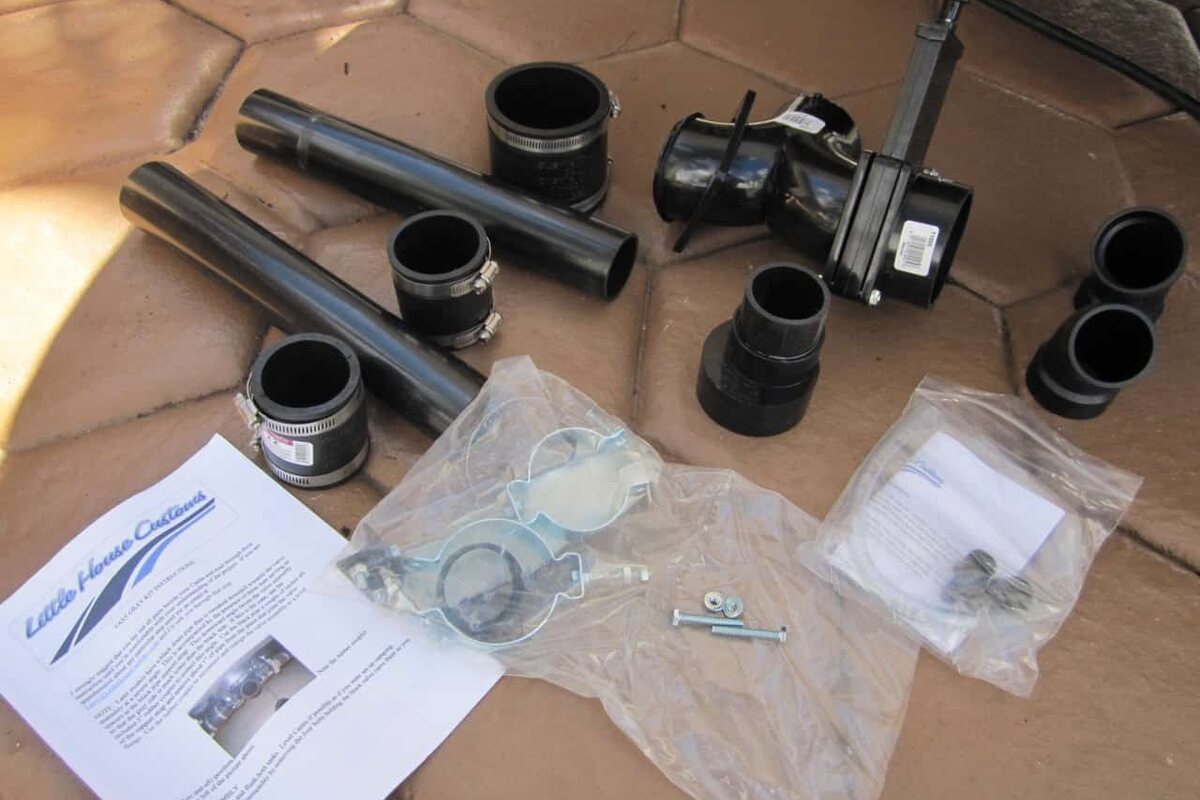 PlumbingPhoto: The Handy Camper · Greg Zimmerman
Gray Water Tank Upgrades
A photographed Casita plumbing project covering gray water, Fast Gray, drain. Open Greg Zimmerman’s original walkthrough for the complete parts, measurements and installation context.
- Article date
- October 2018; updated October 2021
- Parts
- LHC Fast Gray kit and tank-vent modification
- Tools
- Drill/step bit, pipe-thread tap, reciprocating saw, ABS cement and hand tools
- Difficulty
- Author describes an involved project with special tools
- Fit
- Kit choice depends on the existing drain valve; inspect installed hardware
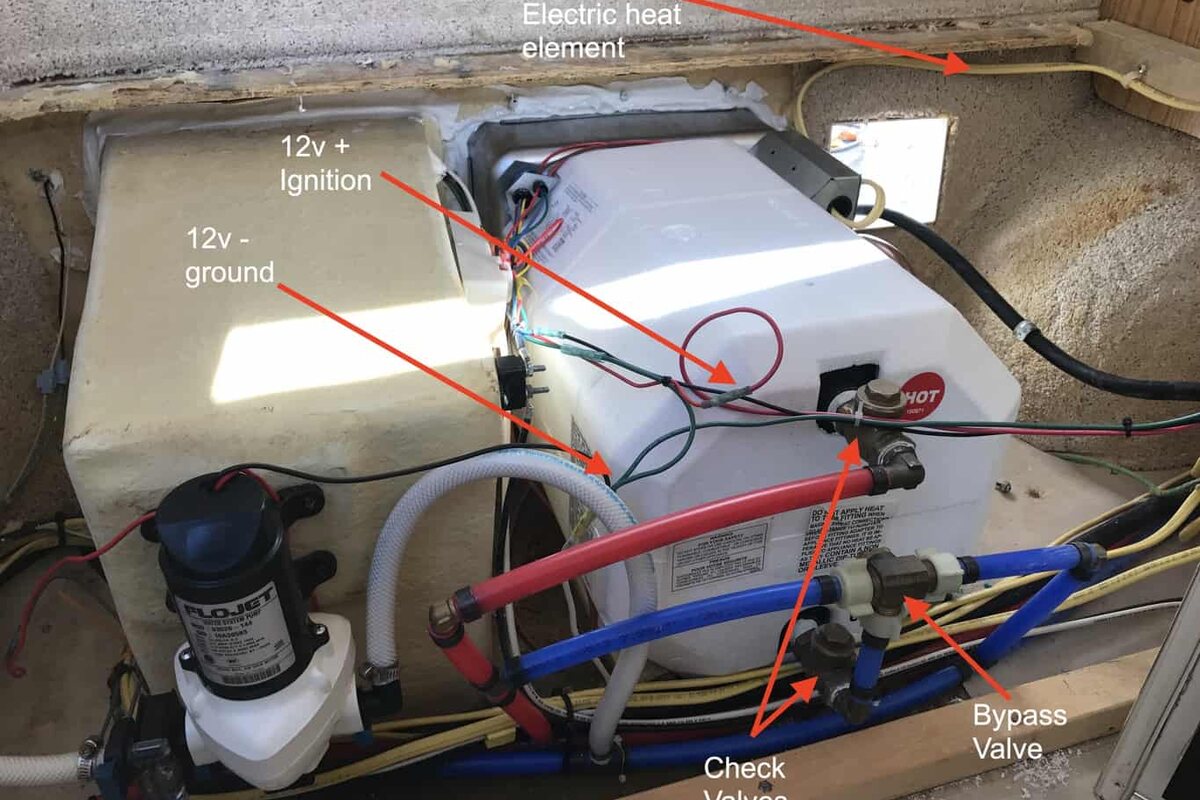 PlumbingPhoto: The Handy Camper · Greg Zimmerman
Water Heater upgrade: Digital ignition and electric heating
A photographed Casita plumbing project covering water heater, electric heat, ignition. Open Greg Zimmerman’s original walkthrough for the complete parts, measurements and installation context.
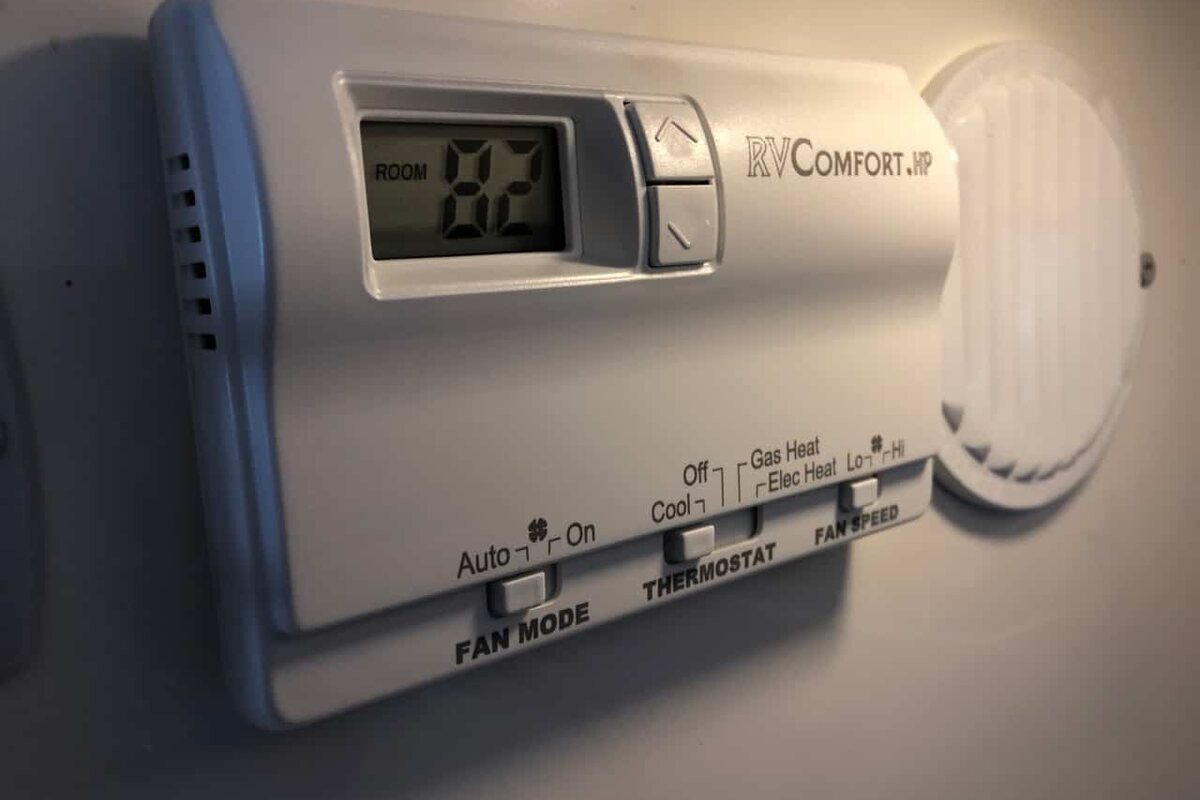 HVACPhoto: The Handy Camper · Greg Zimmerman
Full control of the A/C and heat (the hard way)
A photographed Casita hvac project covering air conditioner, thermostat, heat. Open Greg Zimmerman’s original walkthrough for the complete parts, measurements and installation context.
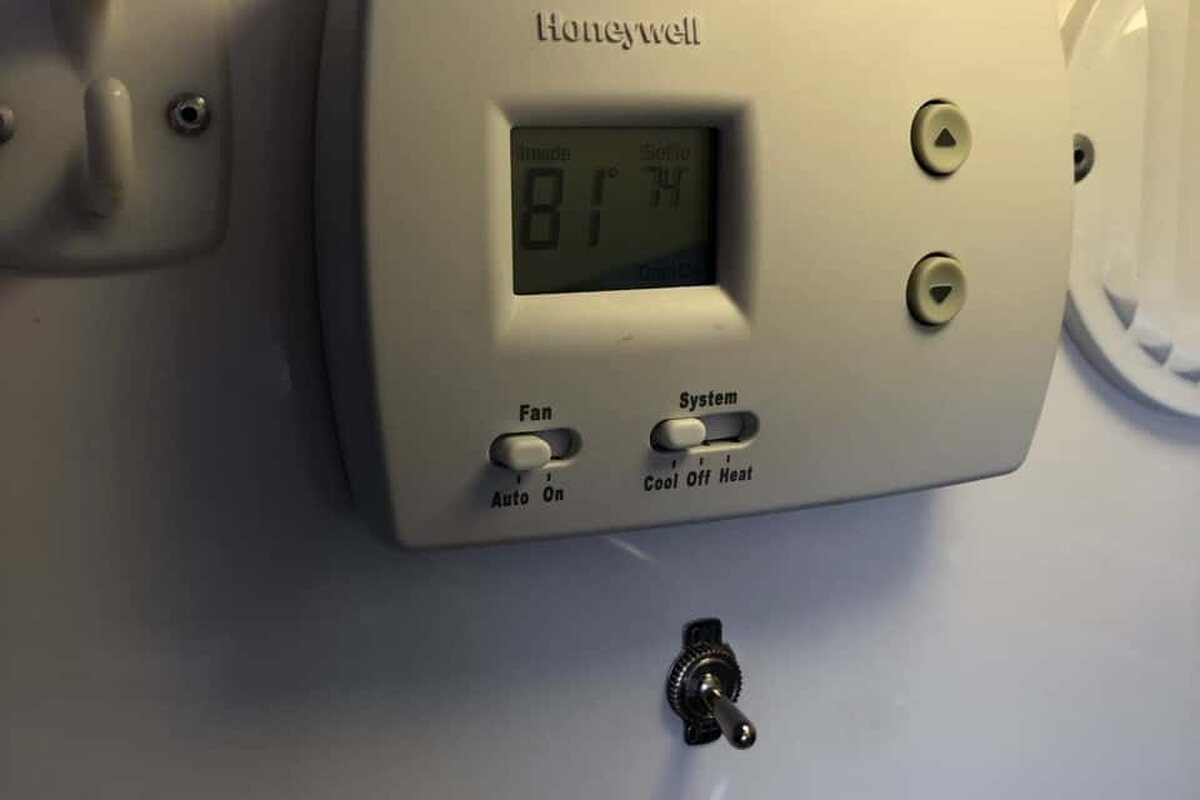 HVACPhoto: The Handy Camper · Greg Zimmerman
A/C Mod (thermostat for the A/C)
A photographed Casita hvac project covering air conditioner, thermostat, Coleman. Open Greg Zimmerman’s original walkthrough for the complete parts, measurements and installation context.
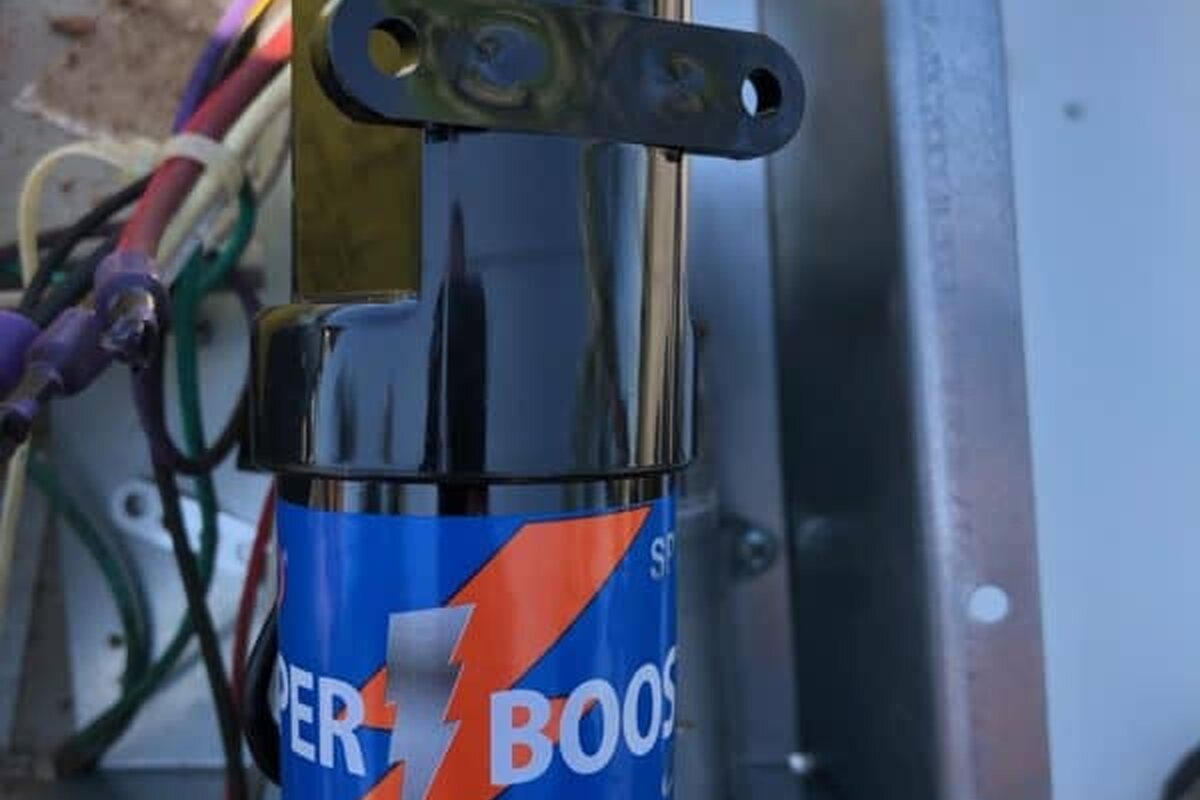 HVACPhoto: The Handy Camper · Greg Zimmerman
Soft Start Capacitor- Coleman Polar Cub Air Conditioner
A photographed Casita hvac project covering air conditioner, soft start, generator. Open Greg Zimmerman’s original walkthrough for the complete parts, measurements and installation context.
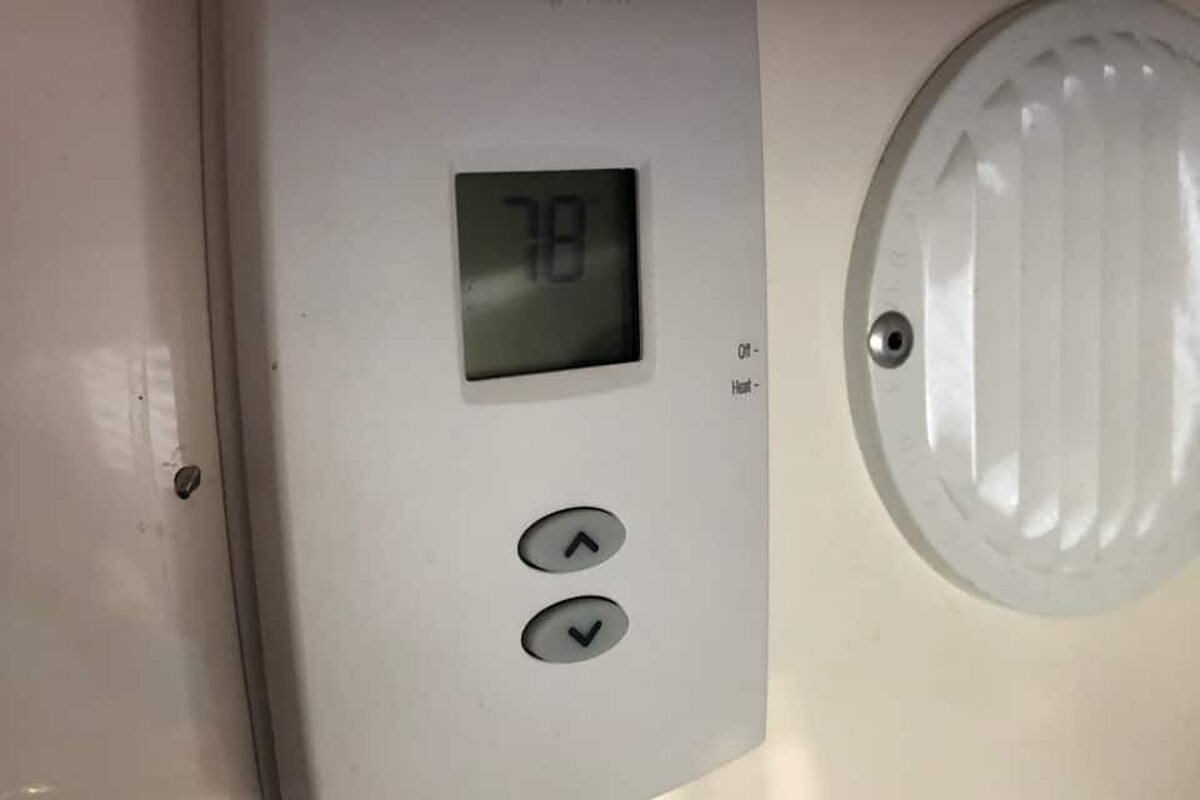 HVACPhoto: The Handy Camper · Greg Zimmerman
Digital Thermostat for the Furnace
A photographed Casita hvac project covering furnace, thermostat, heating. Open Greg Zimmerman’s original walkthrough for the complete parts, measurements and installation context.
- Article date
- September 2018; updated June 2025
- Parts
- Battery-powered Honeywell thermostat; exact model not specified
- Tools
- Drill, rivet gun and cutting pliers
- Difficulty
- Author describes an easy installation with these tools
- Purpose
- Temperature-control comfort; not an ignition-failure repair